Crimson Trace: My 2023 Articles at The WON
It amazes me when I look back at all the articles I’ve written over the past year. I’ve decided to begin listing them on my website so everything is in one place. Here are my articles from Women’s Outdoor News, specifically in partnership with Crimson Trace, which is part of American Outdoor Brands (AOB).
2023 Crimson Trace Articles
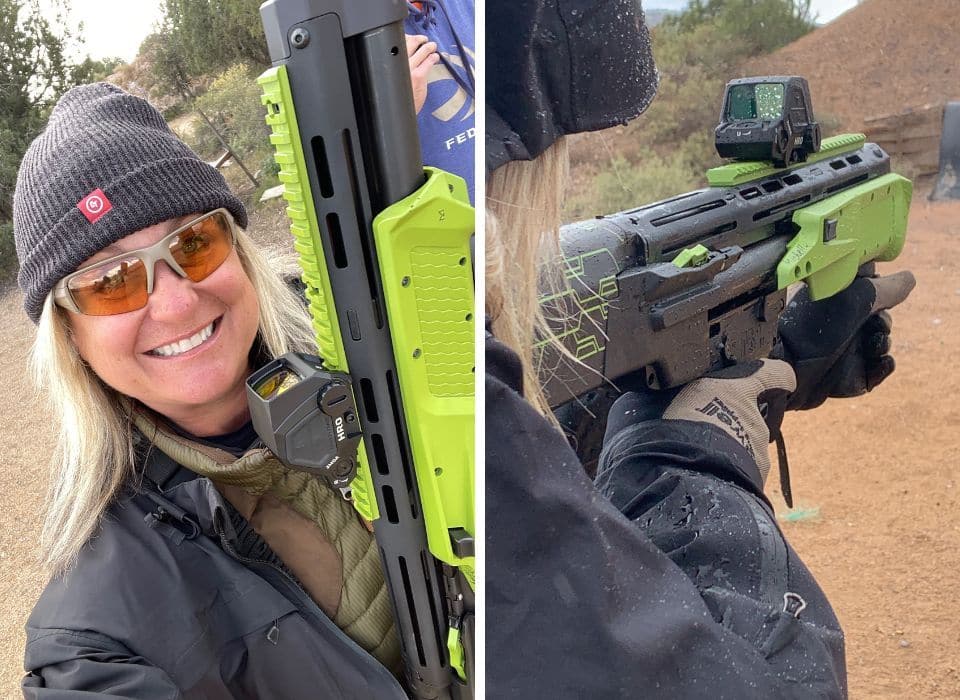
The year began with a recount of the weeklong “Defend Your Lifestyle” event I attended in November. The event included introductions to various sponsors’ products and a live-fire, defensive 3-gun course. We also enjoyed a tour of a newly installed SecureWall vault room – complete with firearms and stories. Learn more about LOCKDOWN’S SecureWalls in 2024, especially if you follow my social media.
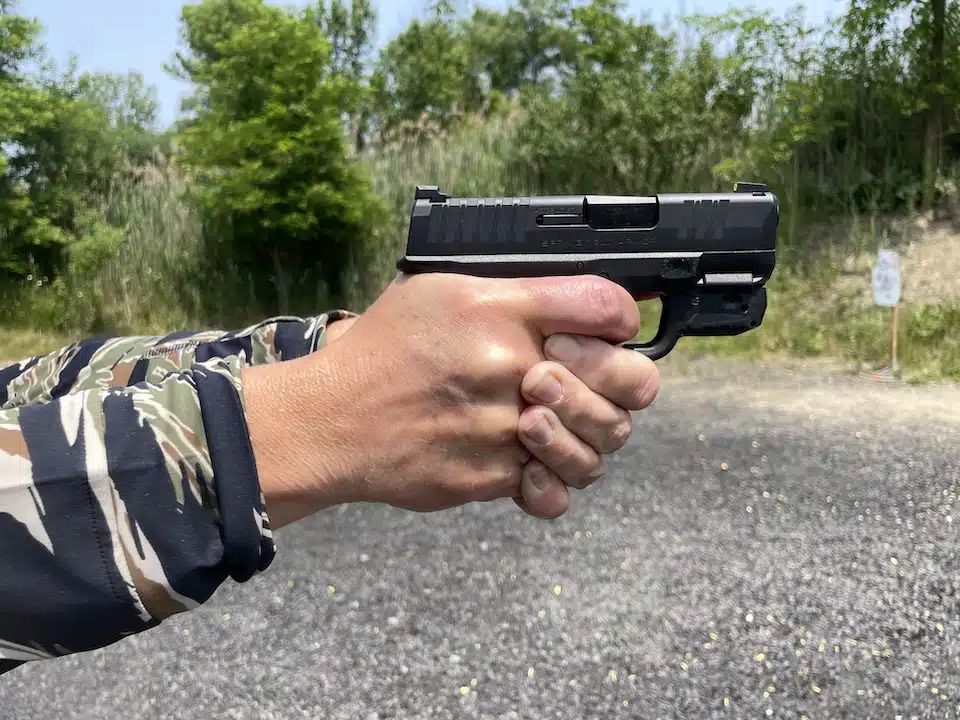
If you’re trying to decide if you should delve into the world of lasers, look no further than my article “Three Reasons to Add a Crimson Trace Laser to Your Firearm” from June.
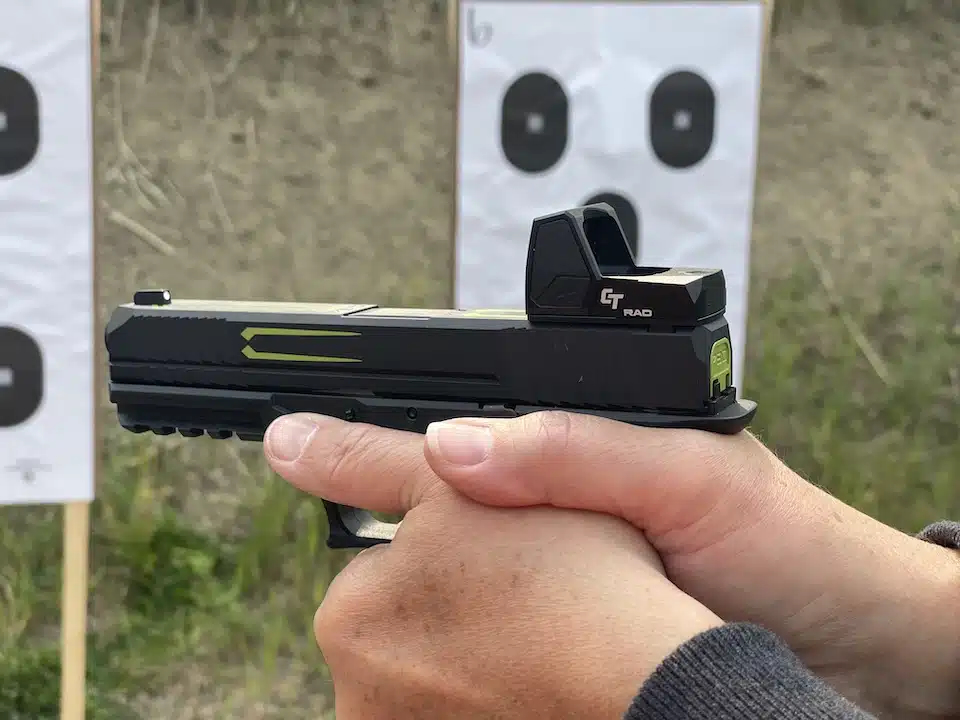
The red dot optics bandwagon is still going strong, with more and more people attending classes using one. In my article, “Six Reasons to Add a CT RAD to Your Firearm,” I offer the reasons you may want to consider adding one to yours.
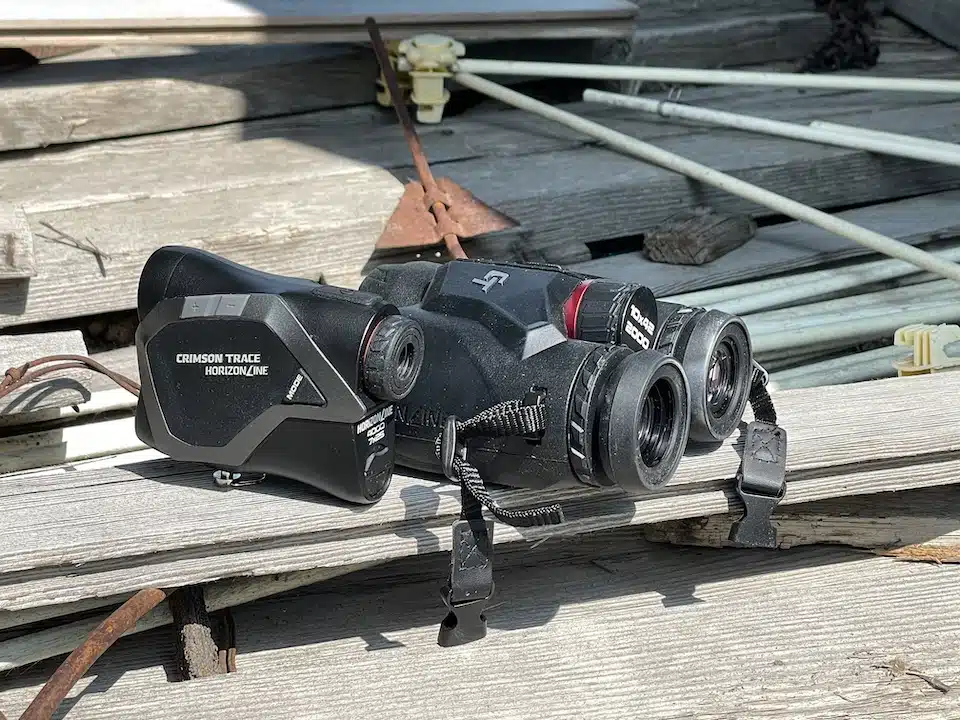
Hunters and competitive shooters will want to read the article “CT Offers Rangefinding Binoculars and Laser Rangefinder.” These new products from Crimson Traces HorizonLine are the perfect addition to any range bag or hunting gear sack.
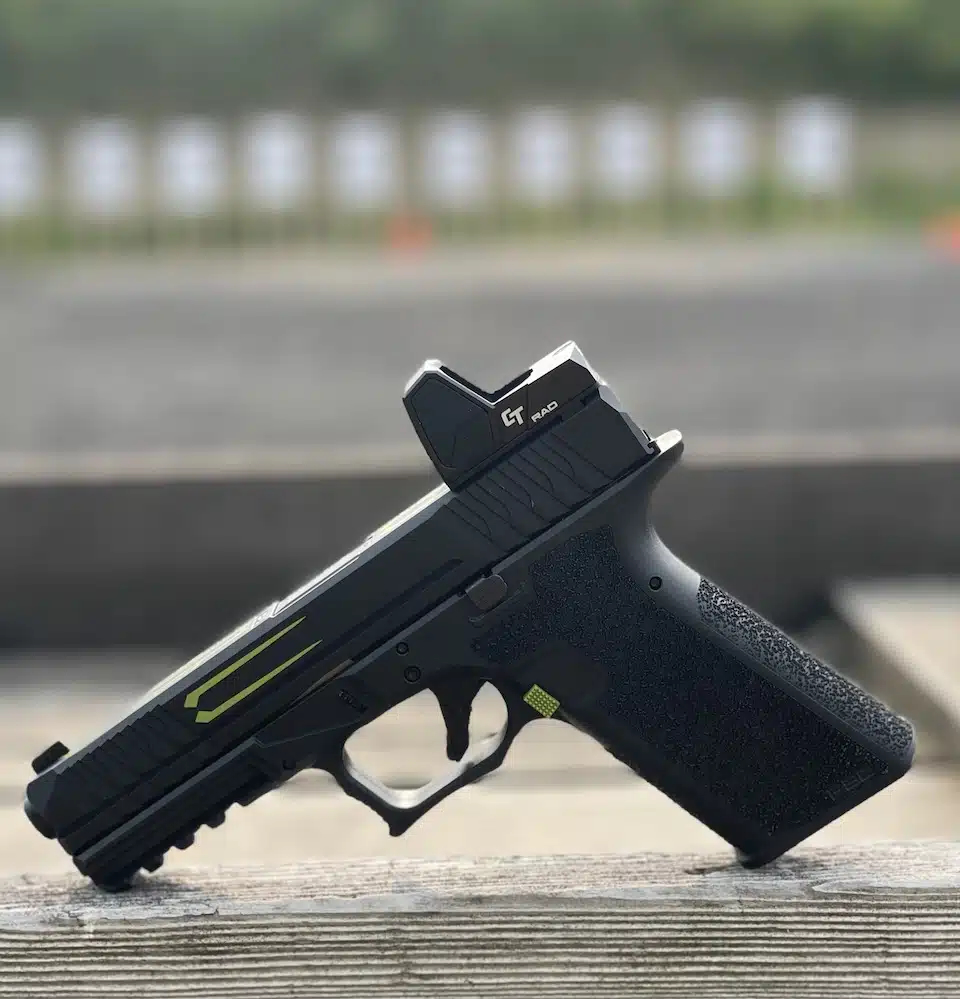
I had holiday shopping in mind when I wrote “Crimson Trace Gift Ideas.” However, these suggestions would make great presents for any time of the year.
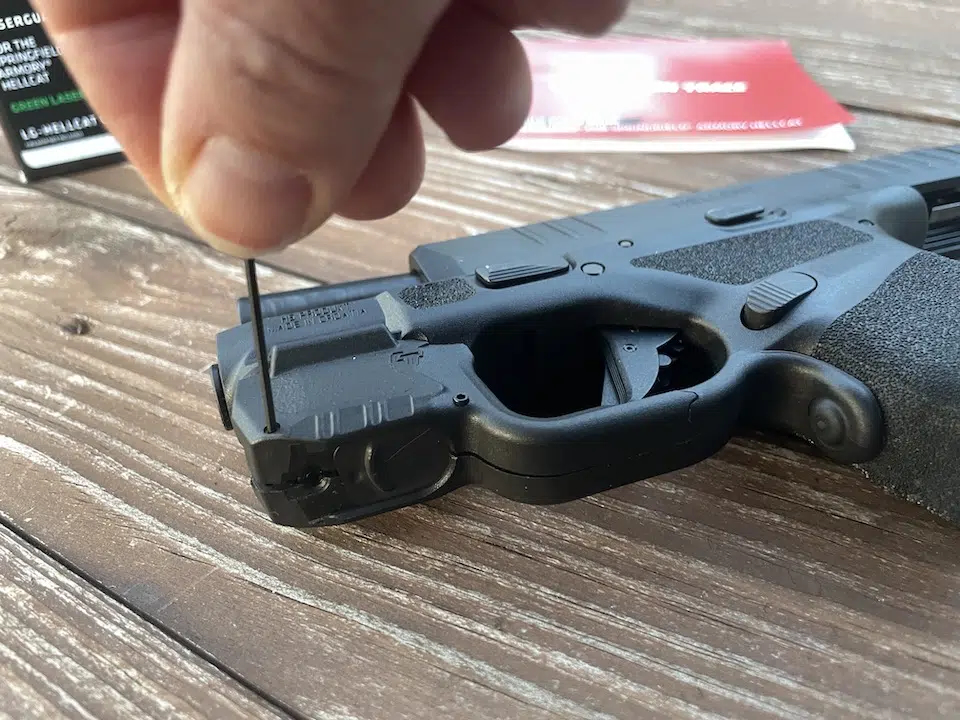
For those unsure where to shop for firearm accessories, “Why You Should Shop Crimson Trace” is a great article to help you understand everything CT offers. From customer service and warranties to educational resources, I covered it all.
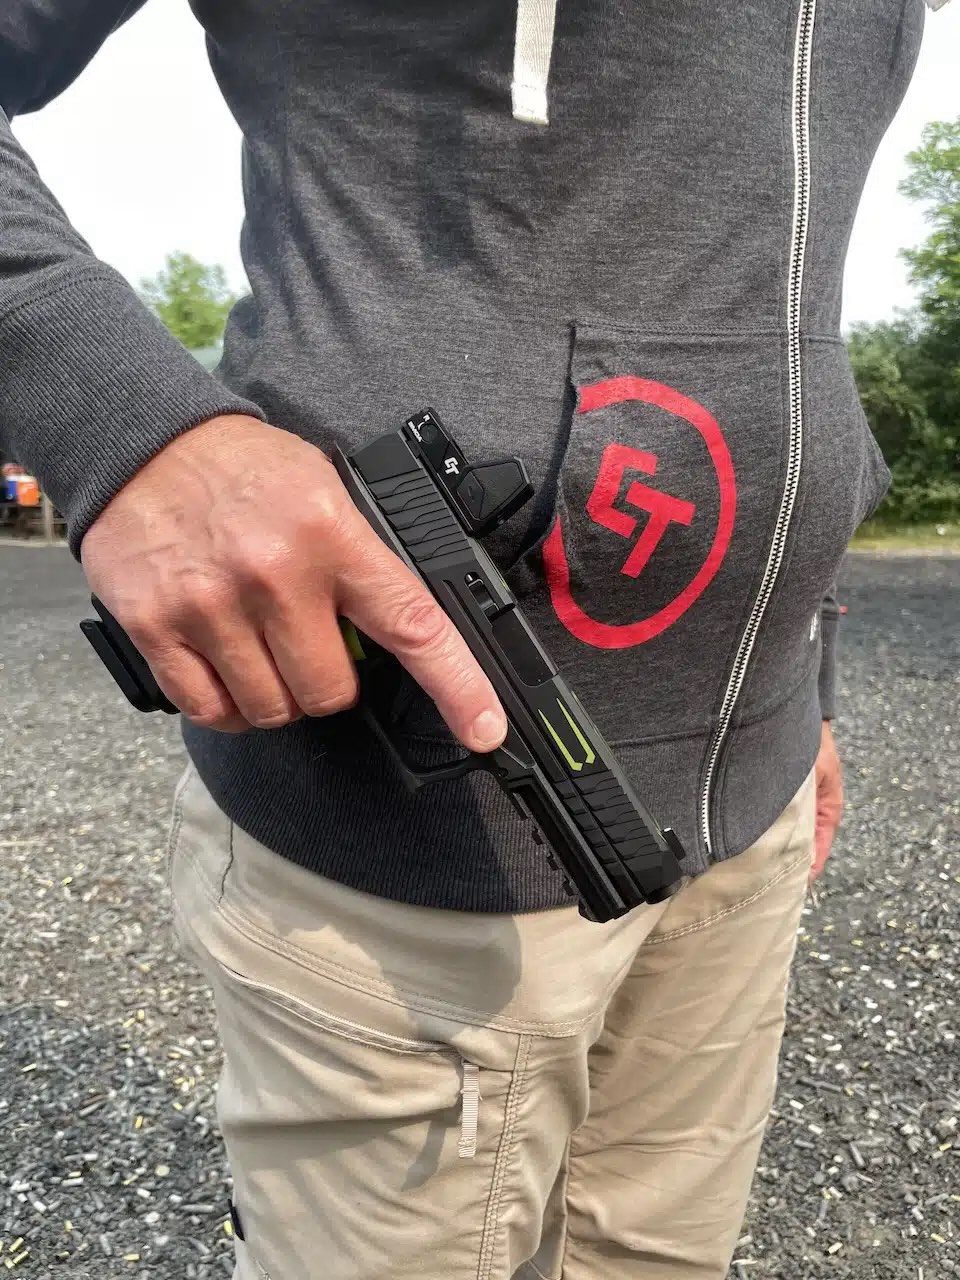
And there you have it, my 2023 Crimson Trace articles from Women’s Outdoor News.
Gun Store Etiquette and Tips
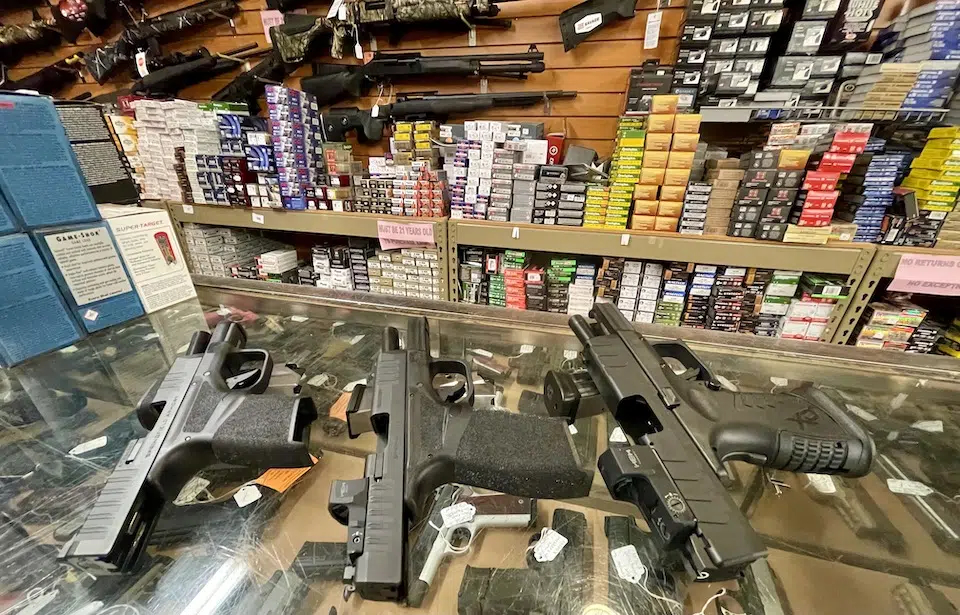
I’m big on etiquette and believe it’s not taught in the home much anymore. Etiquette almost seems to have fallen by the wayside. Whether it involves dining out, visiting someone’s home or when handling a firearm, it’s something people should practice. I’ve written about etiquette on the range, while shooting clays and even while upland hunting. Now, because of some experiences over the last few years, it’s time for me to write about gun store etiquette.
I’ve had the opportunity to spend time on both sides of the gun counter. So, most of what I’m pointing out is a direct result of my experiences, both good and bad. As I mentioned above, I think it’s important to teach etiquette since many people don’t know what they don’t know.
Always adhere to the Four Firearms Safety Rules:
1. Treat all firearms as if they’re loaded.
2. Never point your firearm at anything you do not intend to shoot, injure or destroy.
3. Keep your finger off the trigger until you’re ready to shoot your firearm.
4. Be sure of your target and what’s beyond your target.
Gun Store Etiquette
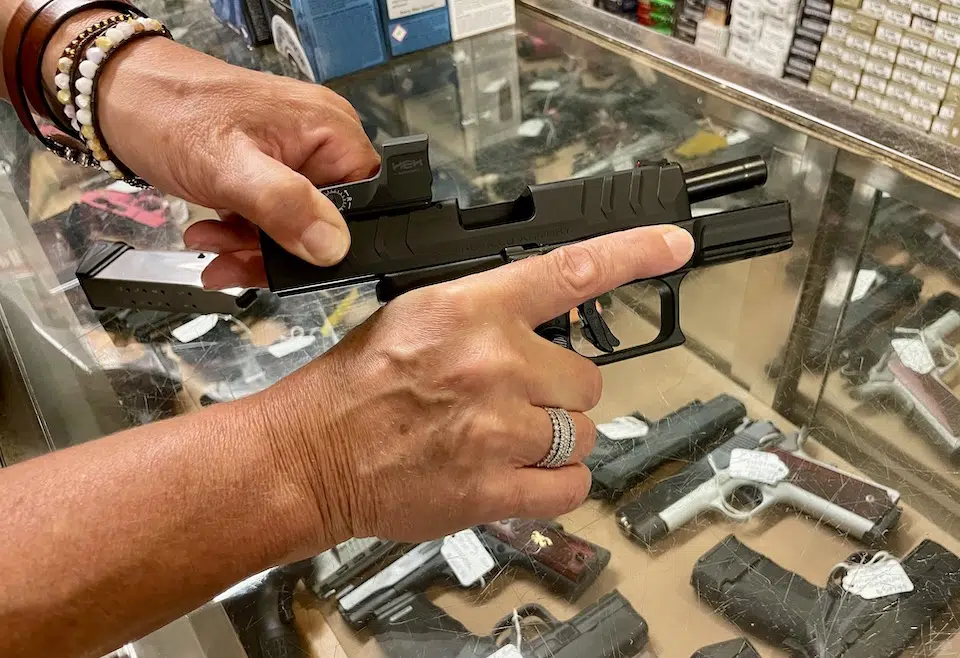
When a sales associate brings a firearm out for you to see, he should always remove the magazine, confirm that it’s clear and lock the slide to the rear BEFORE handing it to you. Once it is in your hands, you should also confirm an empty chamber both visually and manually.
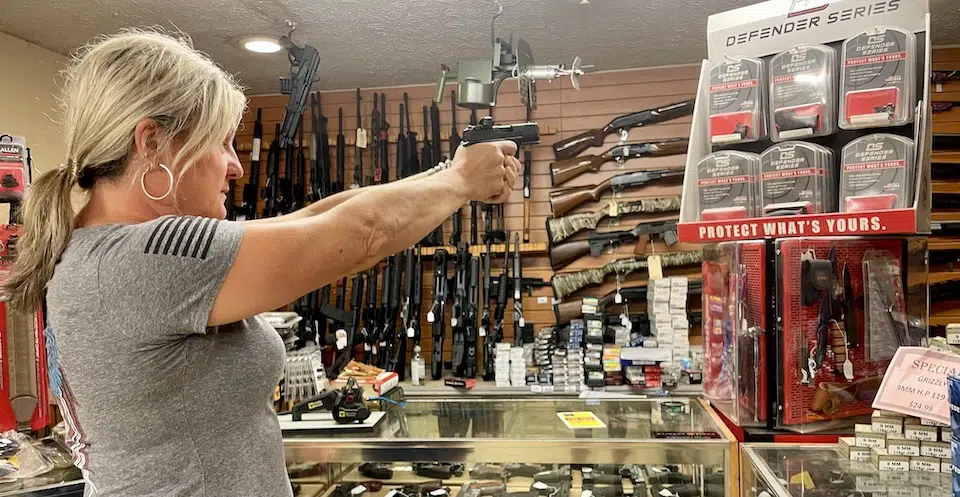
First, ask the clerk where a safe direction is for you to point the muzzle of the gun. Then, find out the store’s policy on pressing the trigger. Make sure to abide by whatever you are told.
Here are some questions to ask yourself while handing the firearm:
- With a proper grip, how does the gun feel in my hands? Does it feel ergonomically correct? Can I obtain a proper grip repeatedly? Are other size backstraps available for a better fit?
- Ask if you are permitted to press the trigger (dry fire). How does it feel when doing so? Do you like the trigger’s pull weight for what you plan on using it for? Does it feel smooth or gritty? Is there a crisp break or is it “spongy?”
While aiming in the safe direction you were shown, obtain a proper grip as you look through the sights. Are they acceptable and easy to obtain? Will you want to change them as soon as you purchase the pistol? Does the store offer a selection of sights to suit this firearm?
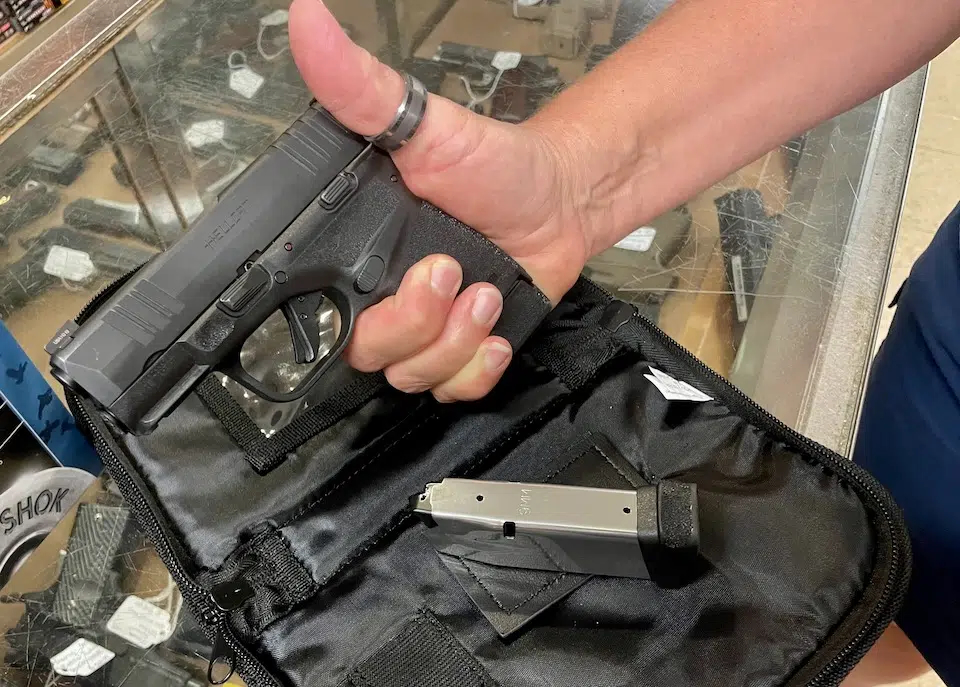
Once you narrow it down to a few choices, consider the following:
- What is the price of the gun?
- How much does an extra magazines cost?
- Are there holsters available for what I plan on using this firearm for?
- Can I add a red-dot, laser or light?
- How will I store this gun safely after I purchase it? (Do I need to buy a safe, too?)
Finally, find out if there is a range for you to test-fire a few of your choices. If there isn’t, you may want to reach out to your friends and find out if anyone owns that particular gun. Or, find a range that has firearms you can rent and get some hands-on experience with your choices.
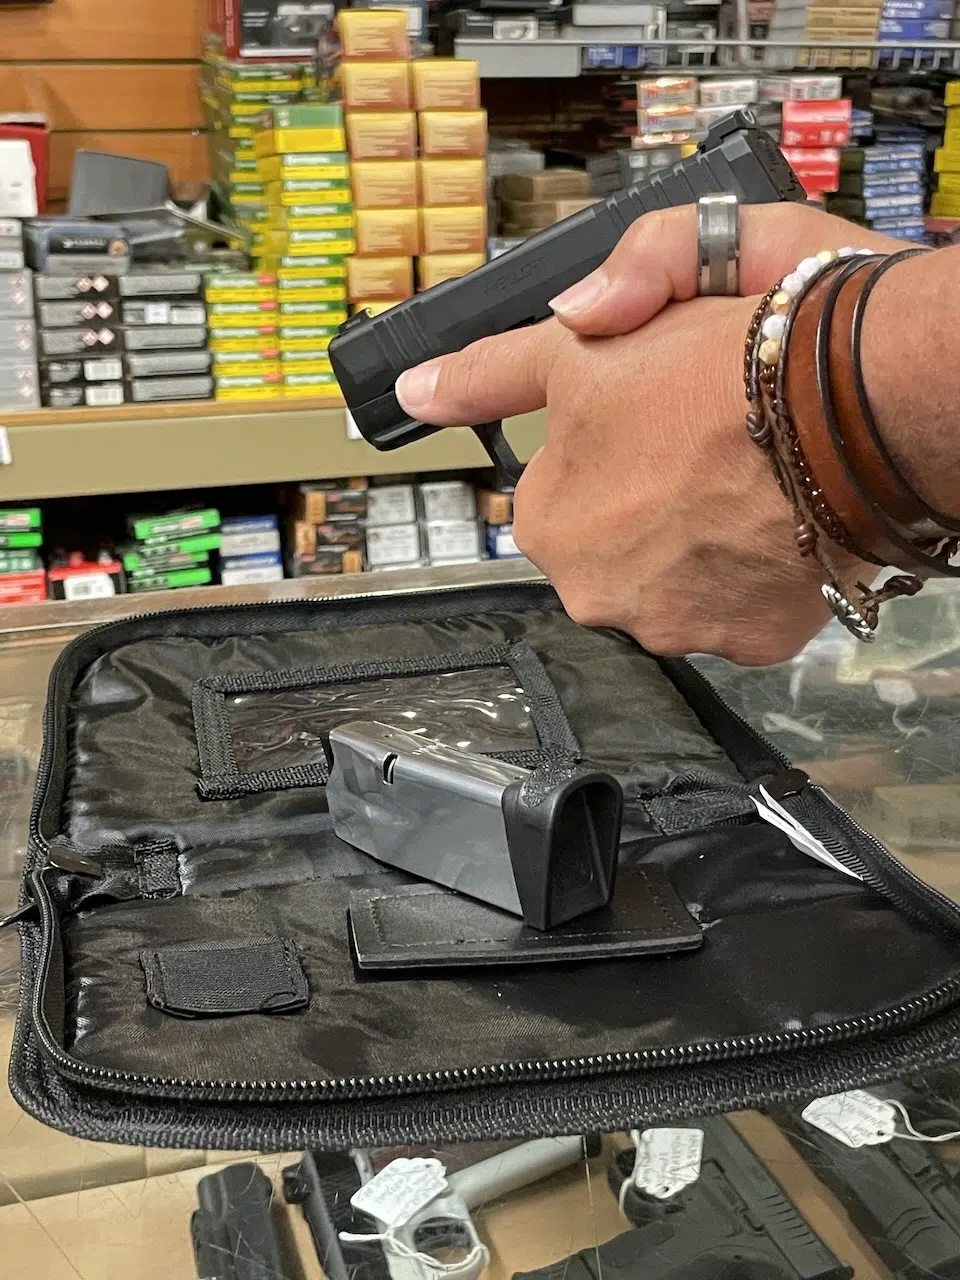
These are just a few ideas to help both you and the person behind the counter feel comfortable while obtaining information on a new firearm. Always treat everyone with respect and don’t be afraid to ask questions. If the person you are working with doesn’t have the answer, ask if someone may be able to help. Take the time to do your research and find the pistol that fits your hands and is the right size for why you want it.
FASTER Trauma Care
Have you ever thought to yourself, “What would I do if there was an event or accident in my school, at work, at this concert or in this store?” Do you know how to apply a tourniquet, occlusive dressing or pack a wound? I, along with a team of trainers, teach the FASTER (Faculty, Administrator, Safety Training and Emergency Response) Saves Lives program in northeast Ohio. This program trains staff to carry firearms in schools. Adam Copley, our medical and firearms trainer, teaches lifesaving interventions. Regardless of whether or not you carry a firearm, the following trauma care lifesaving interventions may help you save someone’s life.
Trauma Care
In FASTER Saves Lives, we use the MARCH-RE acronym to help students remember the order (which addresses the most critical life threat first) to apply lifesaving interventions.
M — Massive Hemorrhage
A — Airway
R — Respiration
C — Circulation
H — Hypothermia
R — Reevaluation
E — Evacuate/Everything Else
Lifesaving Interventions
M — Massive Hemorrhage
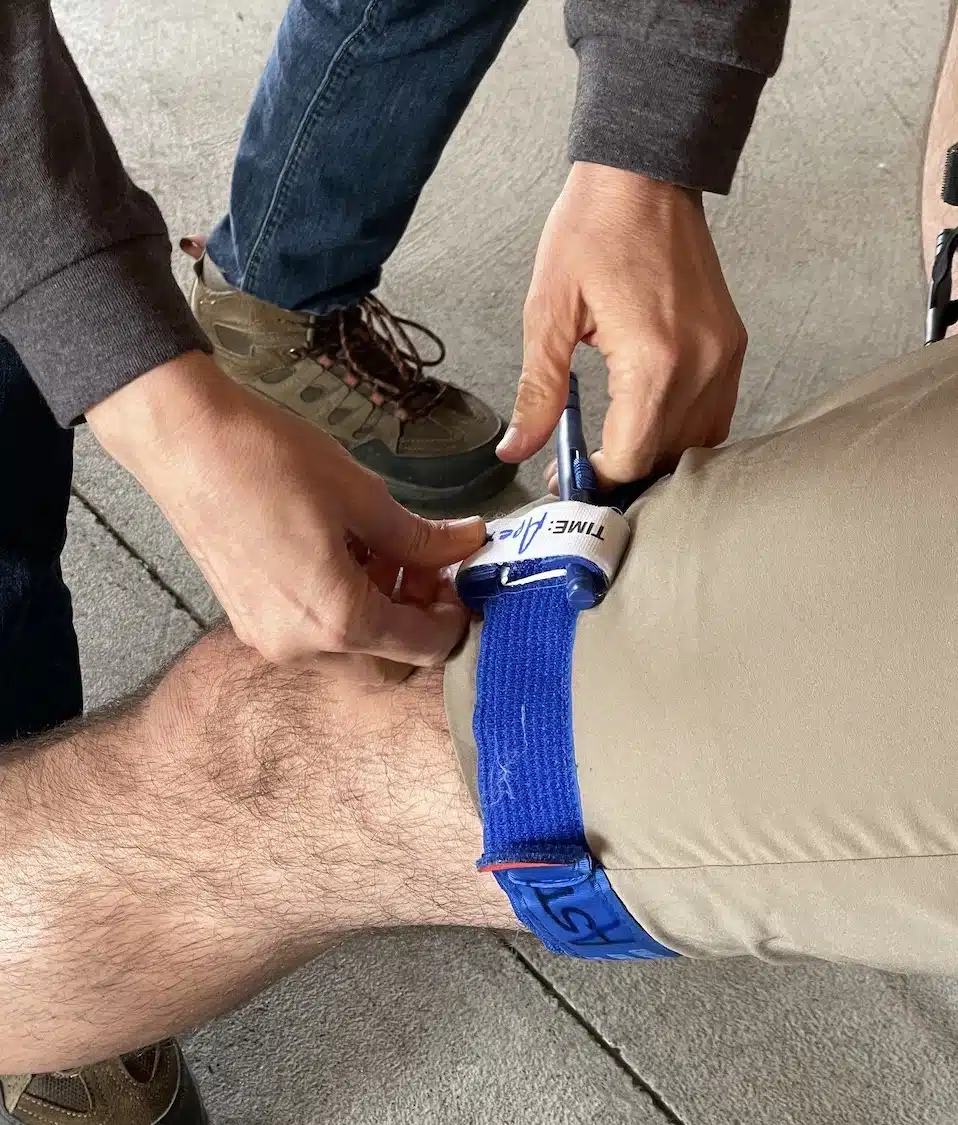
Tourniquet
Tourniquets are applied to massive hemorrhage or amputation on the extremities. The two types of tourniquet applications are hasty and deliberate. Hasty tourniquets are applied quickly and placed high-and-tight. When there is more time to assess the situation, a deliberate tourniquet application is applied 2- to 3-inches above the known bleed (but not at the joint).
Keep in mind:
Tighten down the tourniquet at much as possible initially before turning the windless. Then, continue turning the windless until the bleeding stops. This can be very painful to the injured person but you must stop the bleeding.
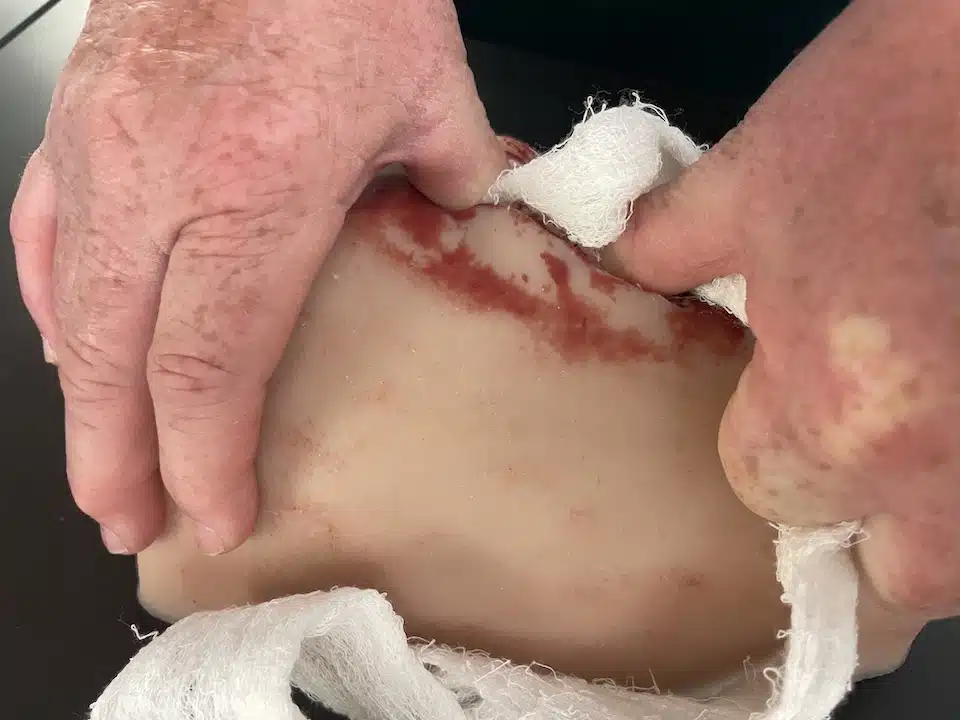
Wound Packing
When the massive bleeding or hemorrhage is at a junction point (neck, armpits and groin) wound packing and direct pressure is the lifesaving intervention.
Keep in mind:
Once the wound channel is completely packed, hold direct pressure for at least five minutes. Then reassess. Do not remove the previous packing, instead, add more and continue to apply pressure.
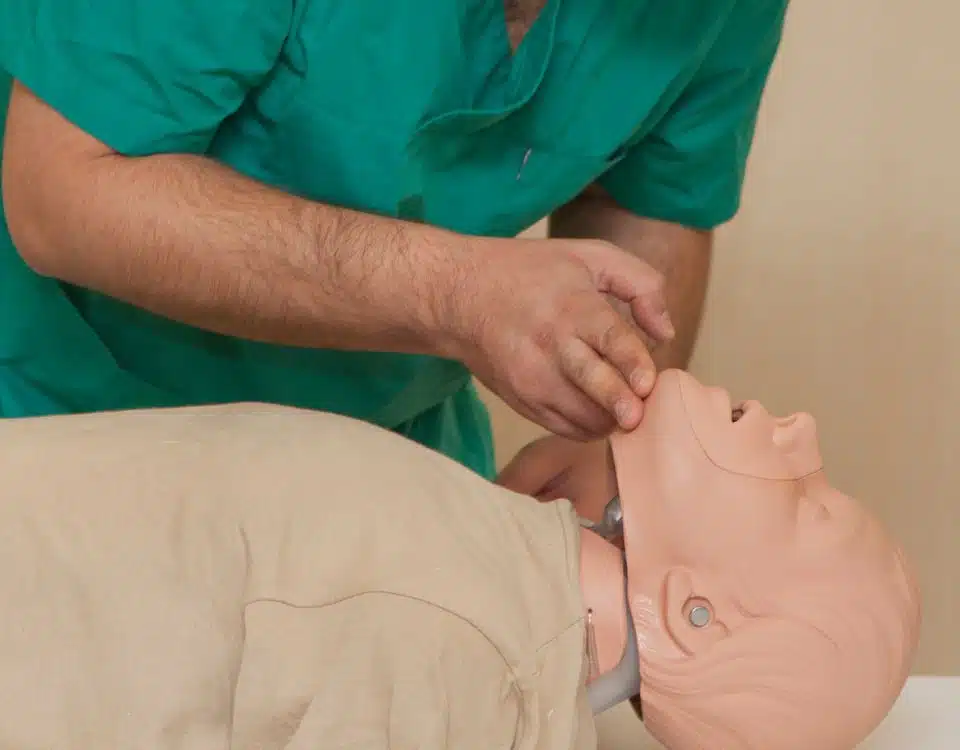
A — Airway
If you’ve taken a CPR class you’ve learned the “head-tilt, chin-lift” and recovery position technique to maintain an open airway.
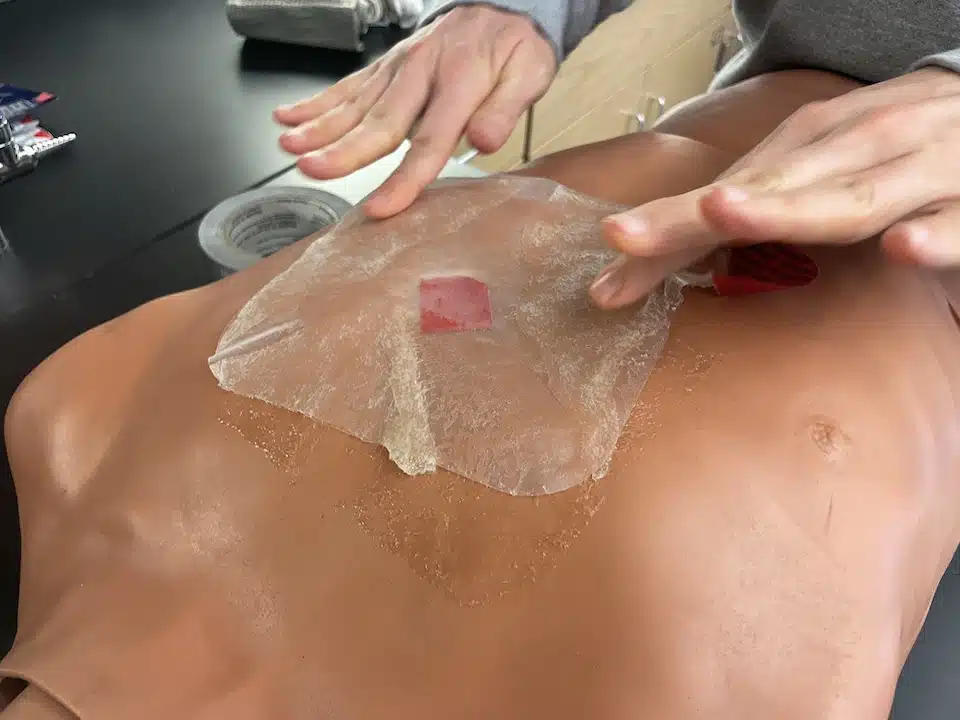
Seal
Numerous times during his presentation, Adam says, “Seal the box.” The “box” is the area on the body from junction areas down and the belly button up, the chest cavity. When a bullet enters the box, air gets sucked into the cavity creating pressure which inhibits your lung from inflating. This is referred to as a sucking chest wound. A lifesaving intervention in this situation is an occlusive dressing or chest seal.
Keep in mind:
Check the front, back and sides of the injured person for an exit wound. All holes must be sealed for the lung to function.
C — Circulation
This is CPR. Follow the most recent chest compression taught by the American Heart Association.
H — Hypothermia
Due to loss of blood, apply measures to avoid hypothermia by keeping the person warm, moving him or her off the ground into a warmer area or whatever else possible.
R — Reevaluation
Continually reevaluating the injured person’s condition until care is transferred to higher medical care. Did the tourniquet move? Is the chest seal still in place? Is there any more bleeding?
E — Evacuate/Everything Else
The evacuate/everything else step is when the staff in the schools get the students out of the building for reunification.
The Mission Drives the Gear
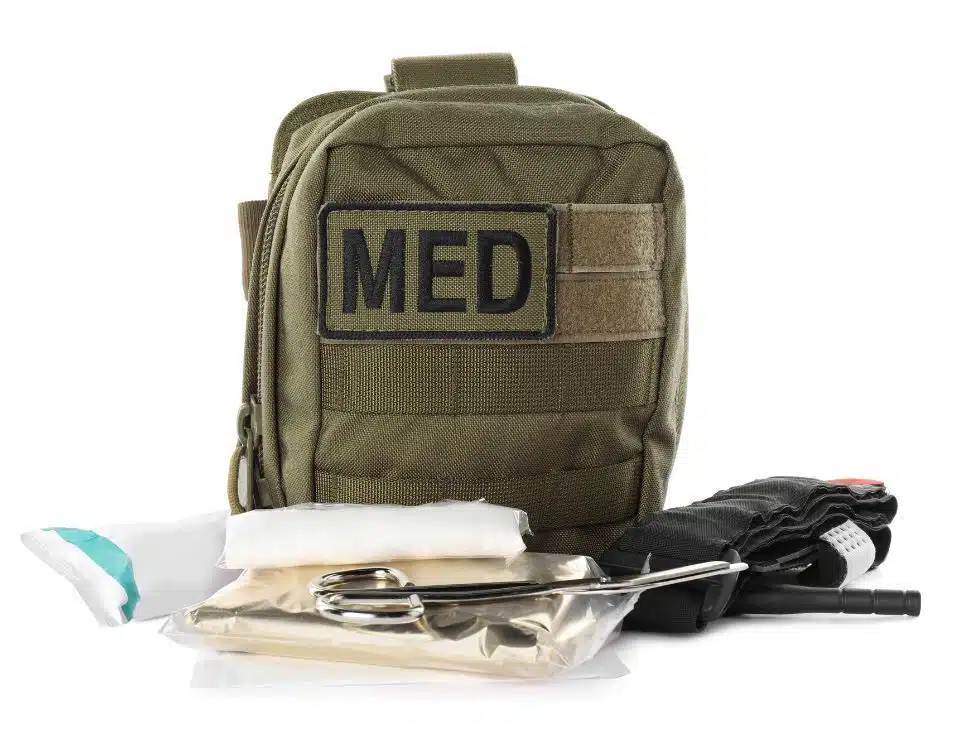
Prepare yourself to help others with these trauma care lifesaving interventions by carrying the gear you may need. Decide what you want to keep in your vehicle, backpack or even purse. Do your research and purchase quality products. FASTER Saves Lives has personal, classroom and school kits available on their website. Plus, if you use products purchased from them to save a life, they replace the item for free. Learn how to use everything in your kit and practice with it when possible. Also, do your research and learn what improvised items you might use for these same incidents. You just don’t know where you will be, or what might be available when it all goes down. Adam suggests purchasing training equipment that can be dedicated for practice that is separate from your kit. You can even run drills in your house to make sure everyone knows how to use it.
Get the training you need to properly apply tourniquets, chest seals and pack wounds.
Meet Adam Copley
Adam Copley has 20 years of experience as a firefighter with various medical and instructor certifications. He is a full-time firefighter in a large metropolitan area and part-time in his home town with a rural setting. Throughout his years of service, he has dealt with gunshot wounds, stabbings, machinery accidents and more. Adam has applied the lifesaving interventions described above and has seen positive outcomes from their use.
The original version of this trauma care article first appeared at Women’s Outdoor News.
Geneva-on-the-Lake: Ohio Wine Country
I took a spur-of-the-moment trip to Geneva-on-the-Lake in Northeast Ohio in February. Never having been there, I wasn’t sure what to expect. Following are some highlights of that trip.
The Lodge at Geneva-on-the-Lake
On the suggestion of a friend, I called The Lodge at Geneva-on-the-Lake to find out if they had any rooms vacancies. Shockingly, they only had one room available, even in this off-season. I took it; I wanted to get away for the weekend.

I usually wouldn’t choose such a lavish room, the king suite, but it was the only one available. The decor was lovely in the living room, which also had a small kitchenette and table. The large bedroom had a dressing area with a sink and a separate bathroom. Both rooms also had a flat-screen TV.
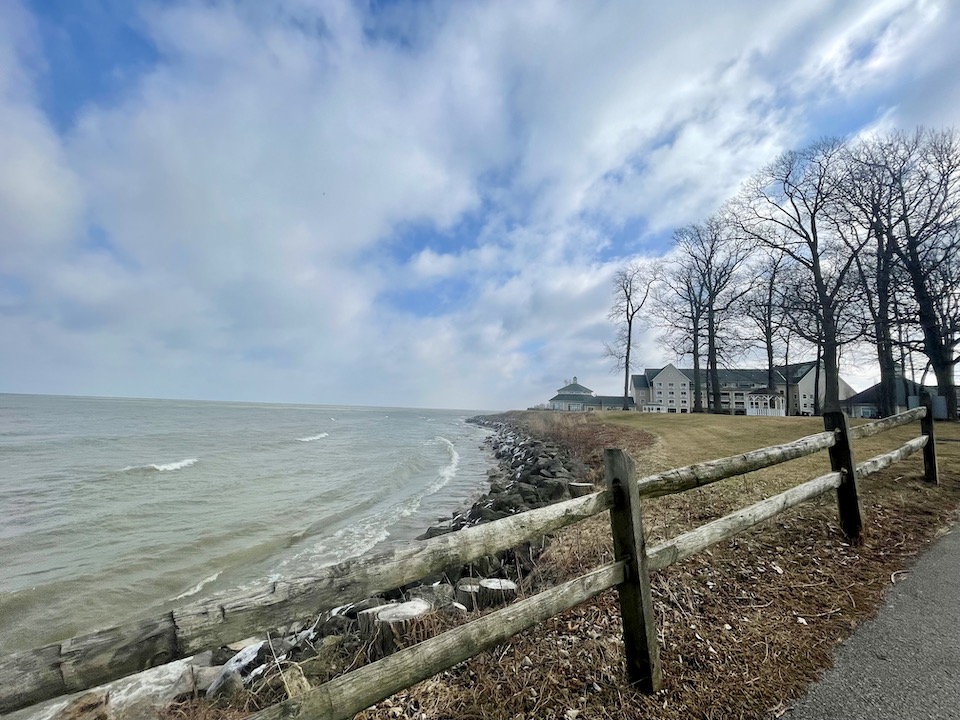
The weather was cold and windy, but we walked outside, around the lodge. Large indoor and outdoor pools, hot tubs, bocce ball, shuffleboard and a giant chessboard are just some of the amenities. It would be enjoyable in warmer weather.
The Wine Shuttle
My same friend who suggested we head to Geneva-on-the-Lake for a getaway also said we needed to take advantage of the Ohio wine shuttle offered by the lodge. We arrived just in time to catch the 12:30 shuttle that drove us to visit three different wineries, spending an hour in each.

The first stop brought us to Kosicek Vineyards, a third generation vineyard founded in 1929. We enjoyed a tasting a red wines with a view of the vineyard.
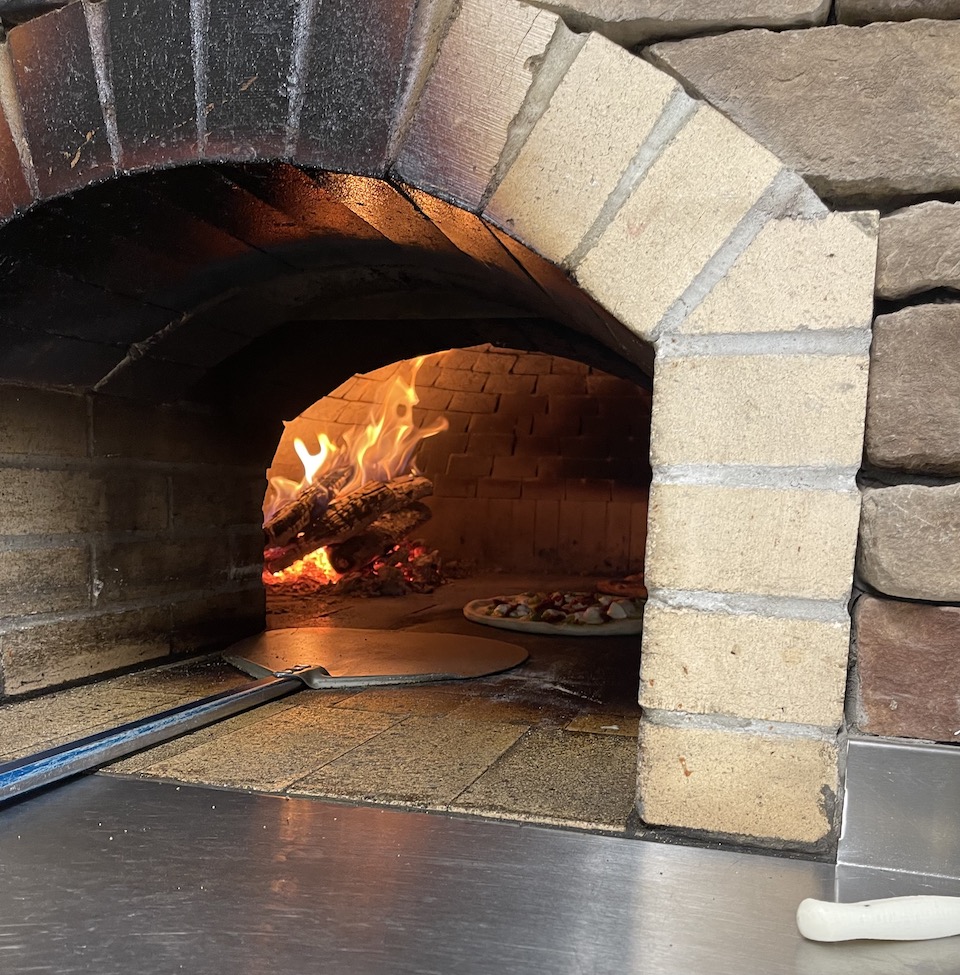
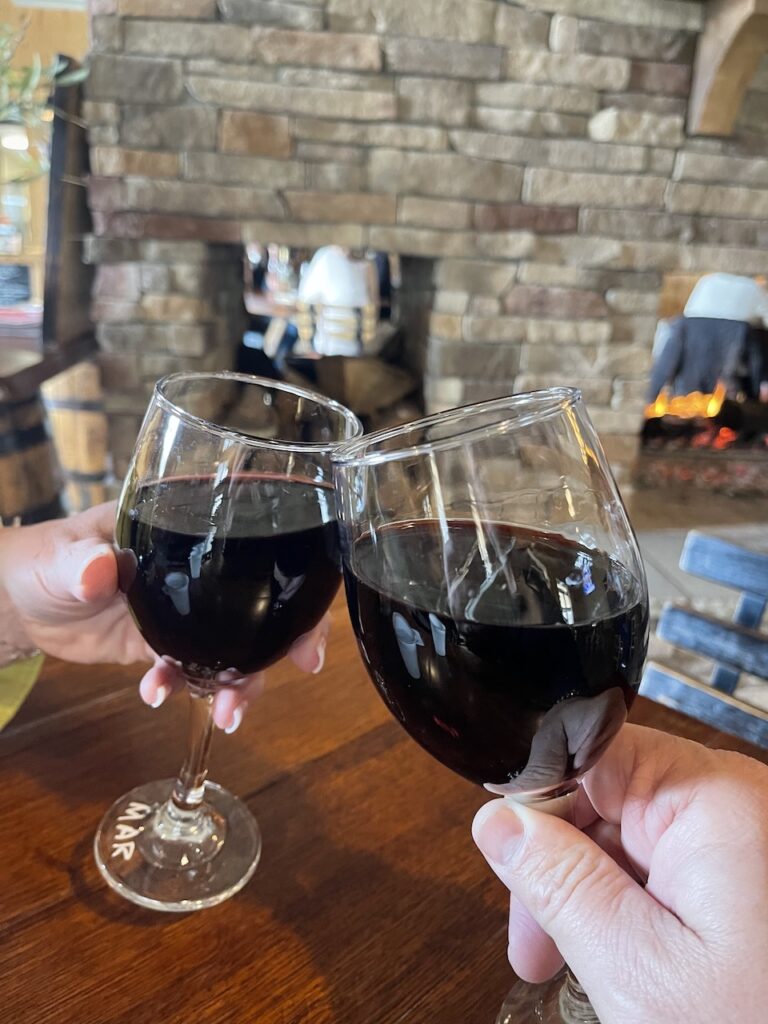
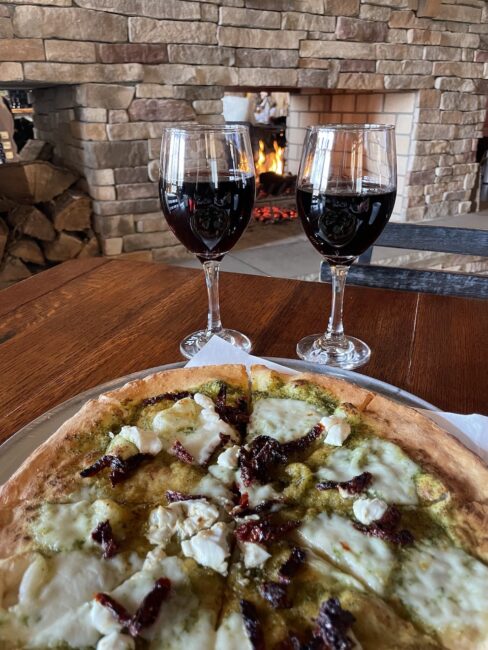
Our second stop was Stonegait Winery. The shuttle bus driver mentioned this would be an excellent place for lunch. What more could one ask for than a delicious wood-fired pizza and a glass of wine by the fire?


The Winery at Spring Hill was the perfect stop for our final winery. We sampled white wines while sharing a yummy dessert.
The wine shuttle was well worth the money. It allowed us to sample and taste various local wines without worrying about driving. Plus, we enjoyed all this before we even checked into our room!
I highly recommend taking a trip up to Geneva-on-the-Lake. You may want to make your reservations for the lodge sooner than later, especially if you plan on visiting in season.
Sight Seeing While Visiting Las Vegas
Since 2011 I’ve religiously attended the Shooting Hunting Outdoor Trade (SHOT) Show in Las Vegas. During this five-day event, I’ve spent most of my time on the trade show floor, in a restaurant on the strip or in the room. This year I changed my plans and decided it was time to explore and do some sightseeing while visiting Las Vegas.
Las Vegas
I visited the following places and highly recommend them if you are in the area:
Hoover Dam
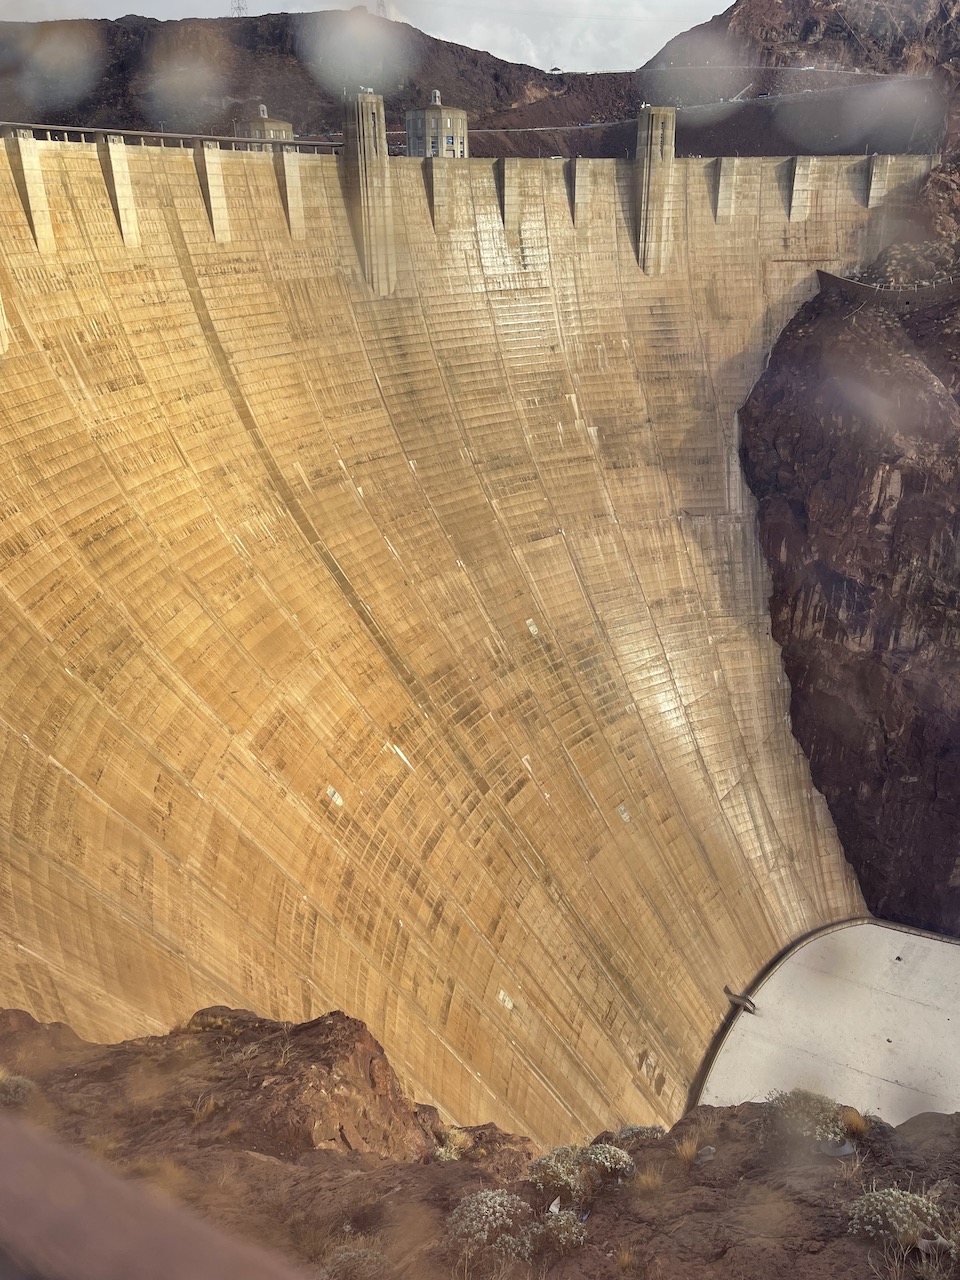
Hoover Dam is located 30 miles southeast of Las Vegas, on the Nevada-Arizona border. I suggest purchasing the $30 Guided Dam Tour. With this tour, you visit historic tour tunnels and a ride on the original elevator to the top of Hoover Dam. It also includes the following:
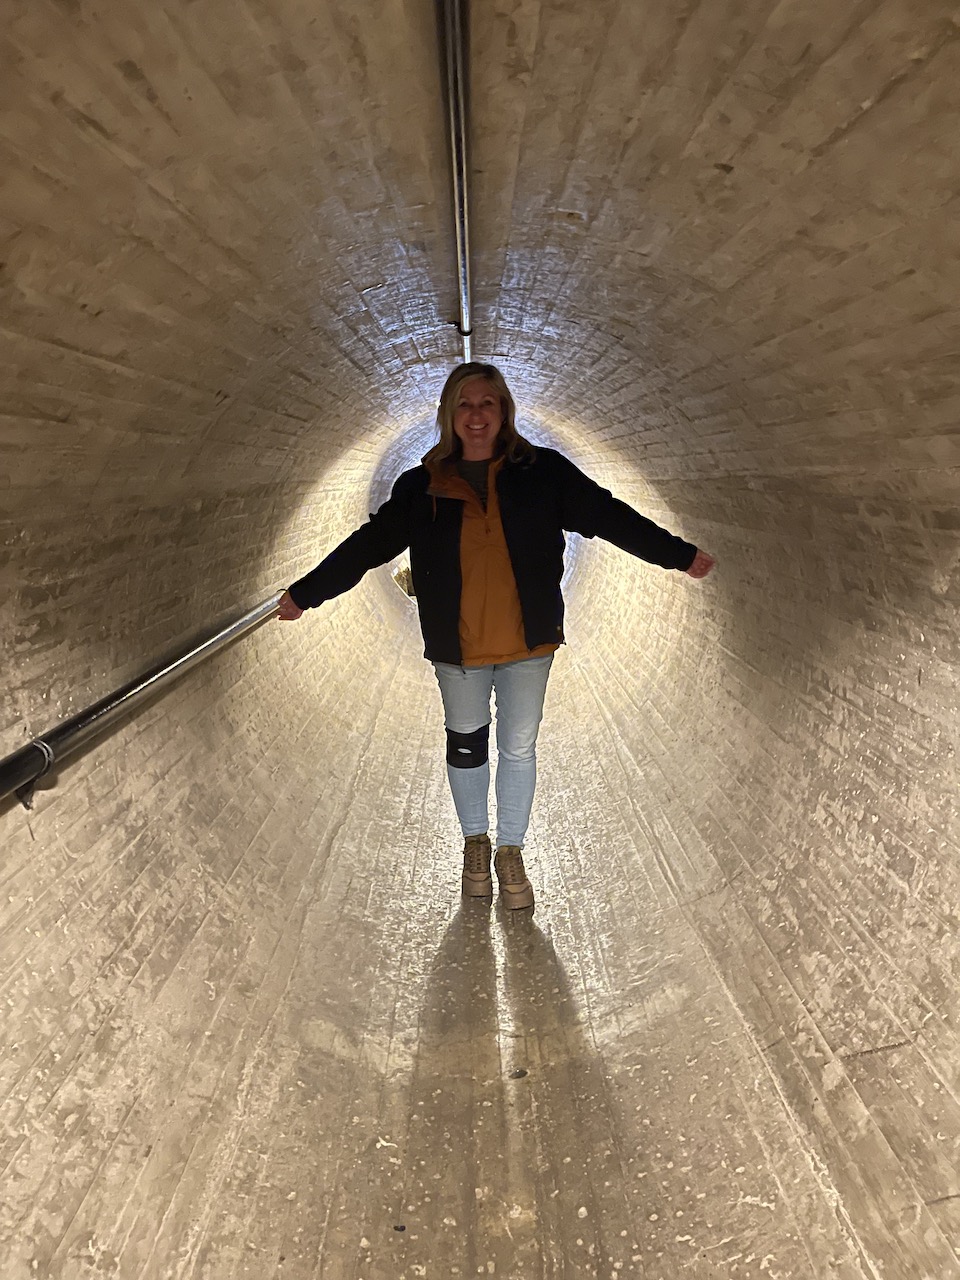
Walk through the inspection tunnels at the center of Hoover Dam.
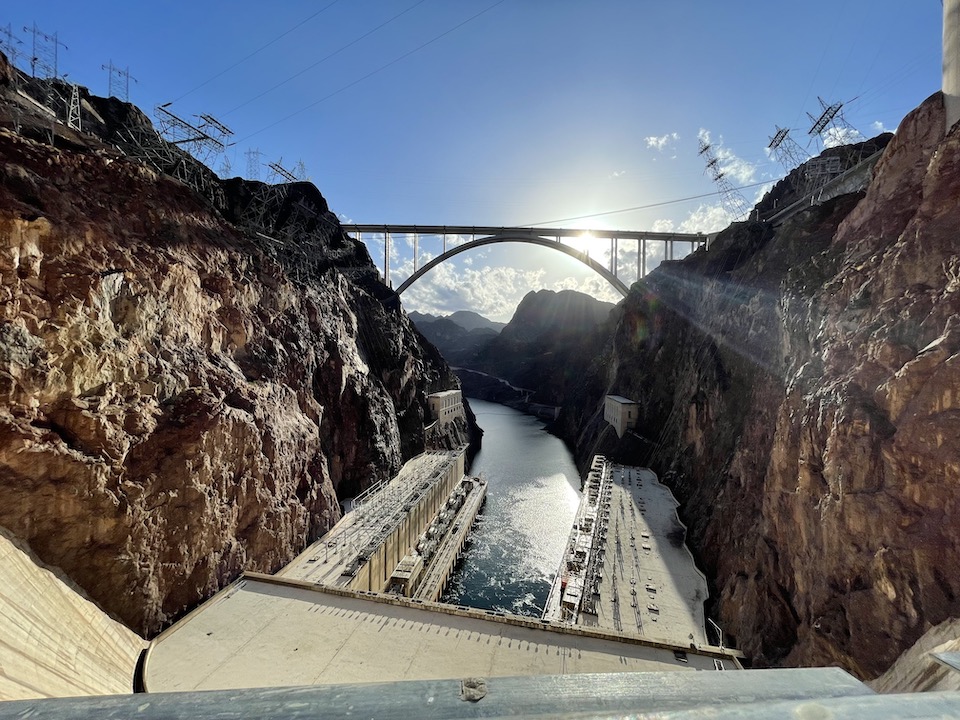
View the Colorado River through the inspection ventilation shaft.

A guided powerplant tour.

Amazing views and a self-guided visitor center tour.
Mercato Della Pescheria

Located in St. Mark’s Square at the Venetian Hotel Resort Casino sits Mercato Della Pescheria. This Italian and seafood restaurant currently has a happy hour menu with amazing martinis and delicious appetizers.

Note: you must sit at the bar for Happy Hour pricing.
High Roller
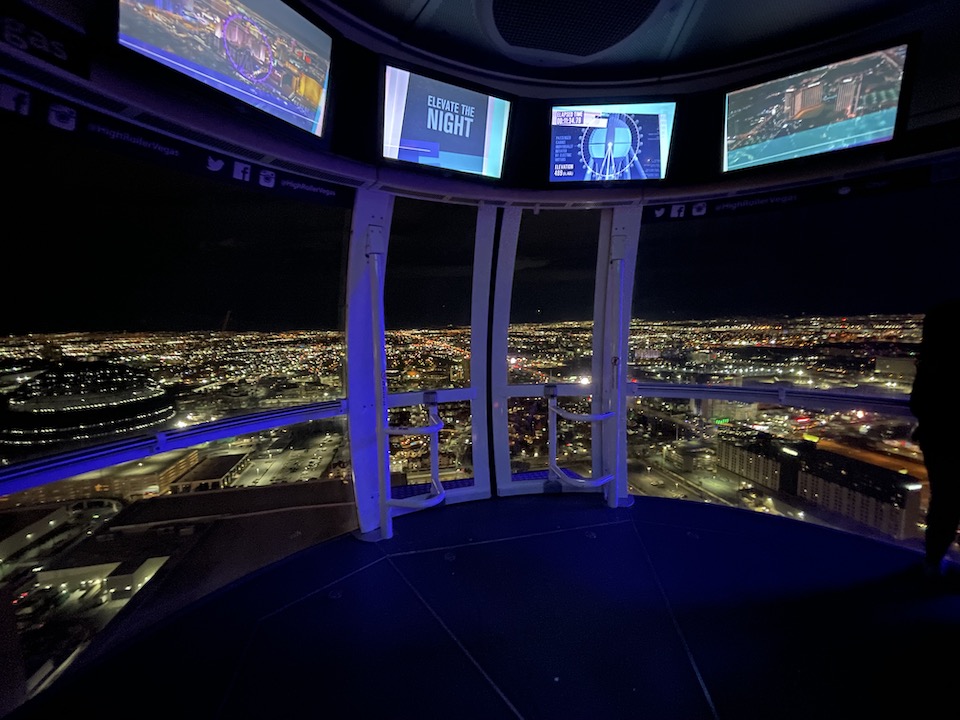
If you want an awe-inspiring view of Las Vegas, take a spin on the High Roller observation wheel.
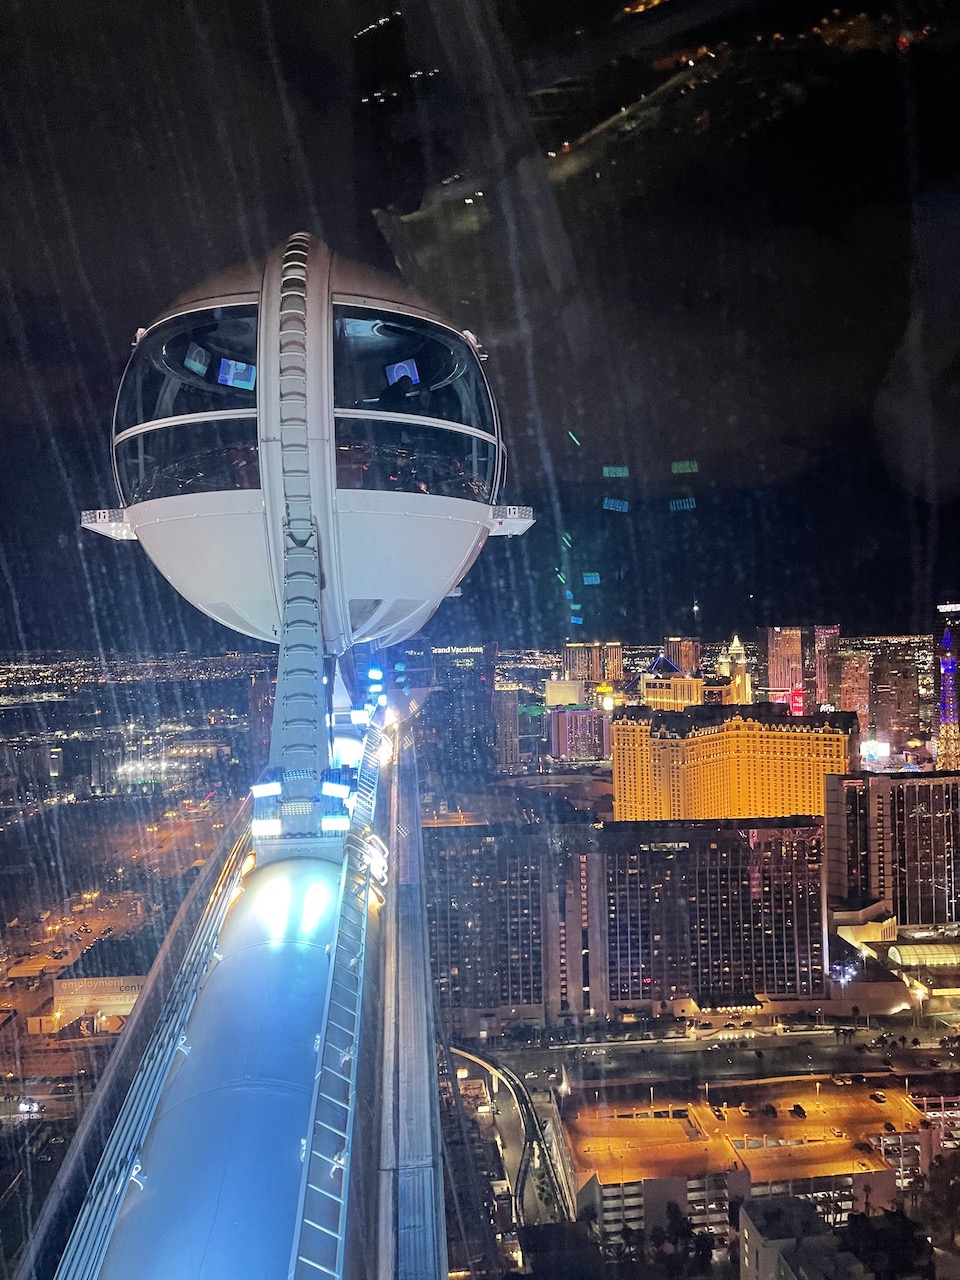
Each pod has the capacity to hold 40 people with a 360-degree view.
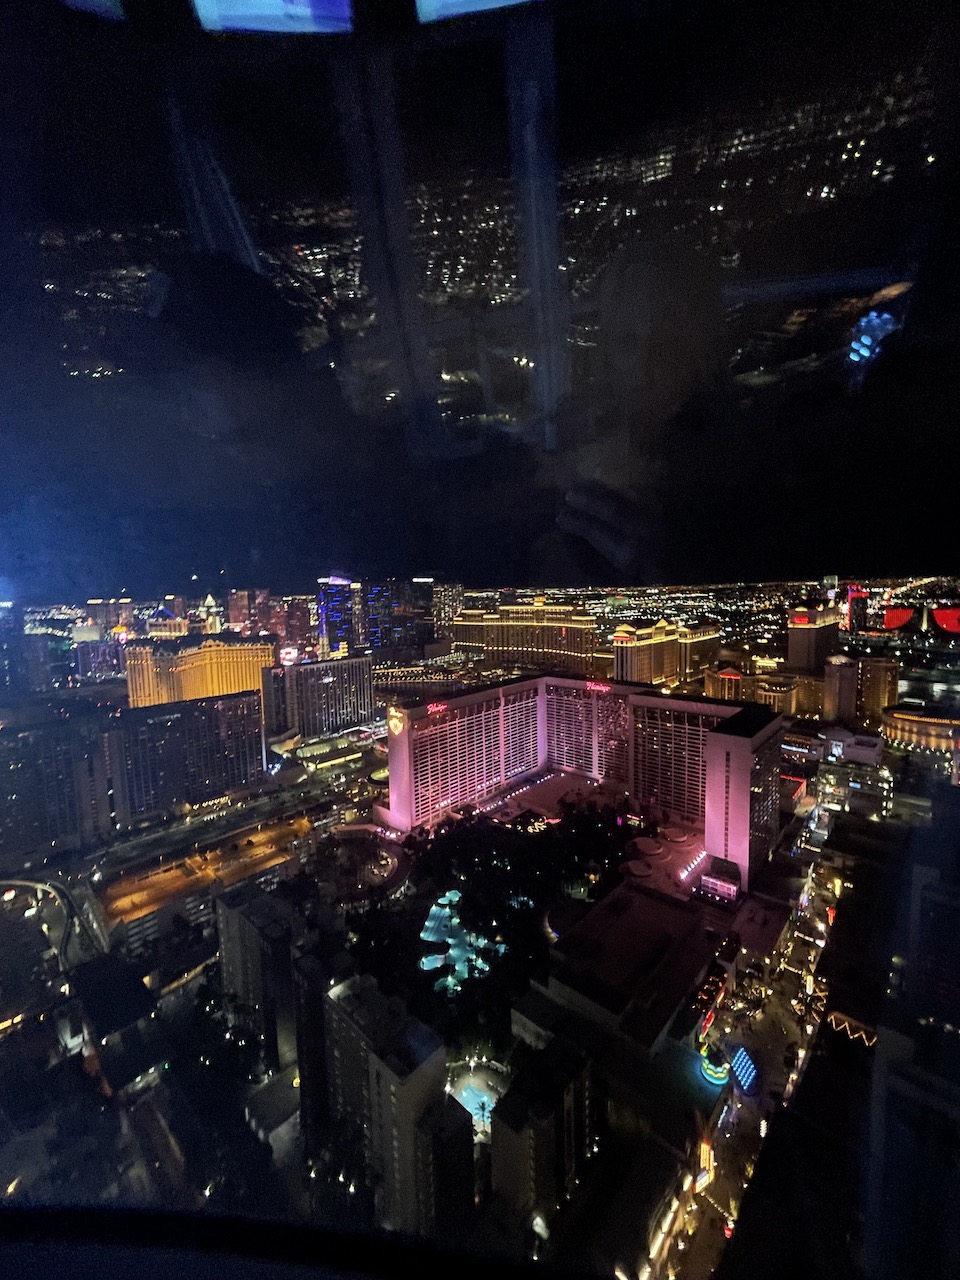
The wheel takes 30 minutes to complete one revolution and doesn’t stop. Its highest point is 550 feet.
The Pepper Club

The Pepper Club by Todd English is located in the Las Vegas Art District. This Asian Fusion and Sushi Bar restaurant offers some very interesting dishes. We dined from the happy hour menu (timing is everything) and were extremely happy with the presentation and flavor. I highly suggest the Firecracker Sprouts and Taco Belle.
Red Rock Canyon

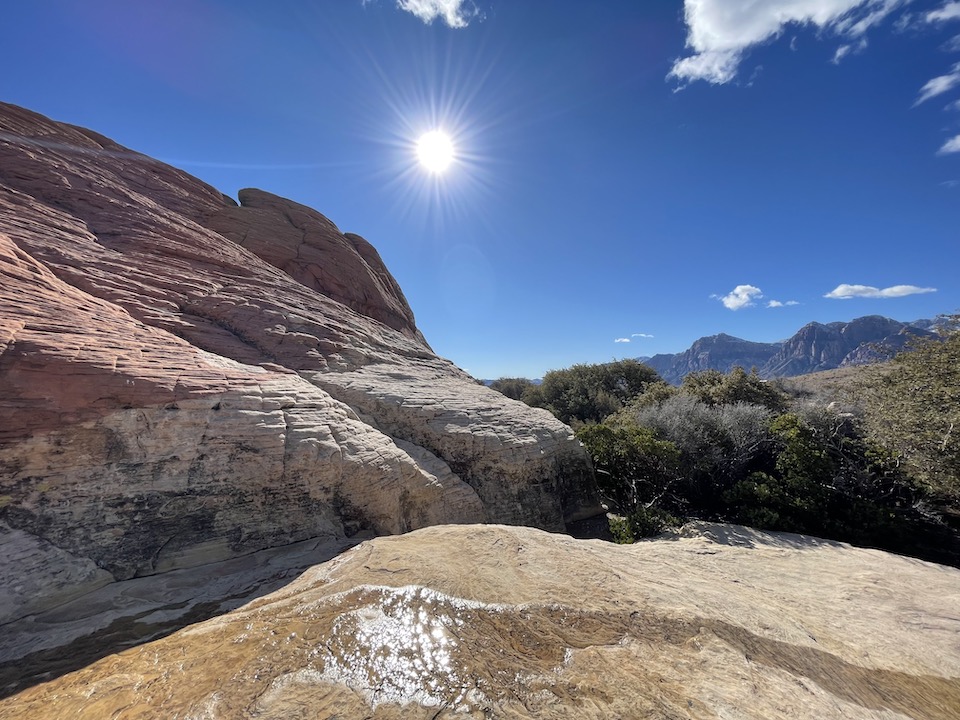

Located about 25 miles west of Las Vegas, Red Rock Canyon offers breathtaking views and numerous hiking trails. Begin at the Visitor’s Center and check out the numerous indoor and outdoor exhibits. Then venture onto the one-way 13-mile scenic drive. Along the way, stop at the various hiking trails, snap some photos, enjoy the picnic lunch you brought along or just take it all in. Note: Reservations are required for timed entry. Read about the types of passes and how to obtain one here.
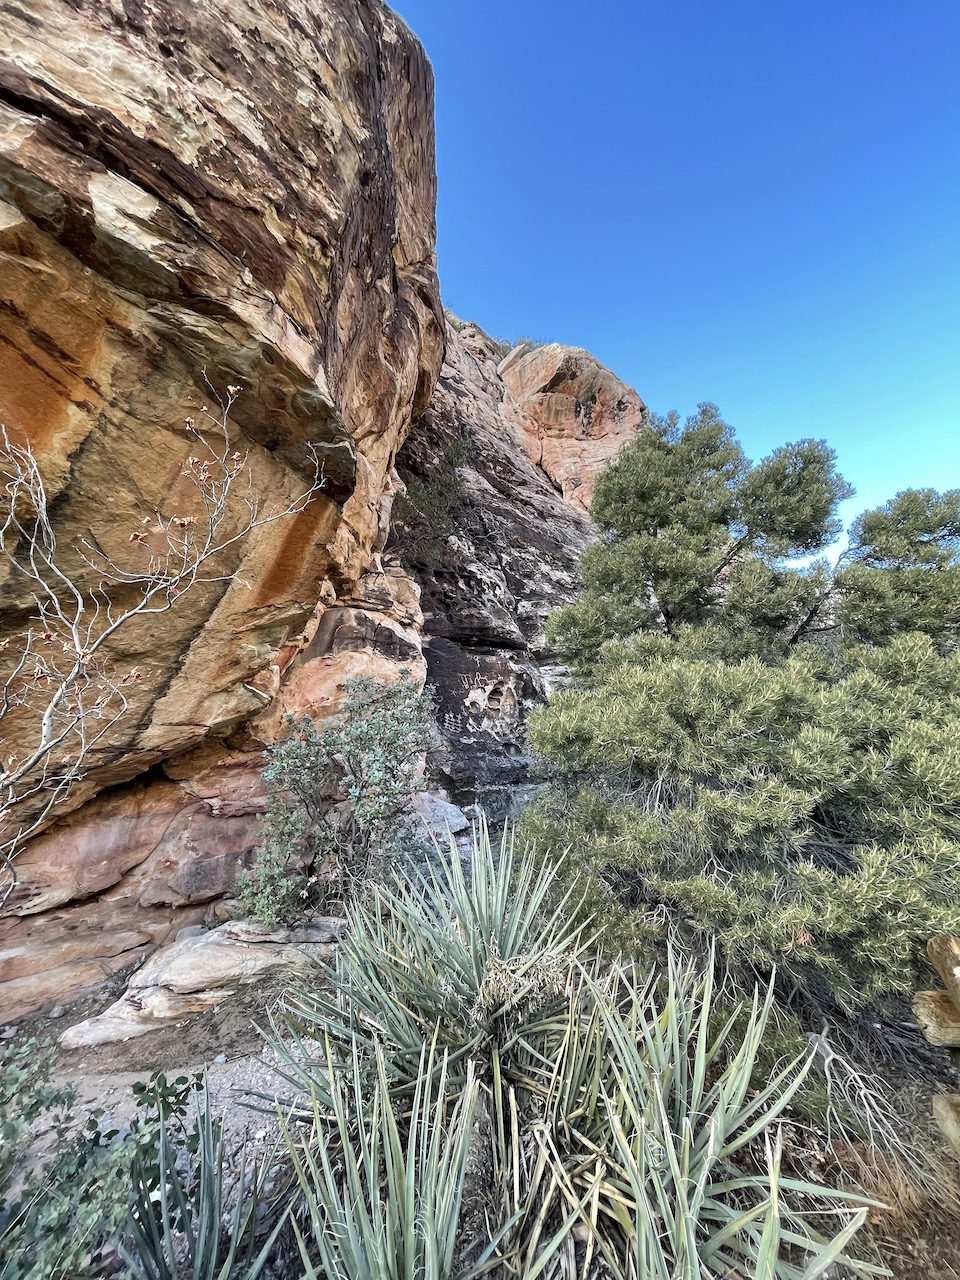
A short .20-mile walk on a labeled path brings you to a petroglyph wall. Estimated to be at least 800 years old, this wall art is worth the short walk along the trail at the Willow Springs Picnic Area.
Beauty and Essex

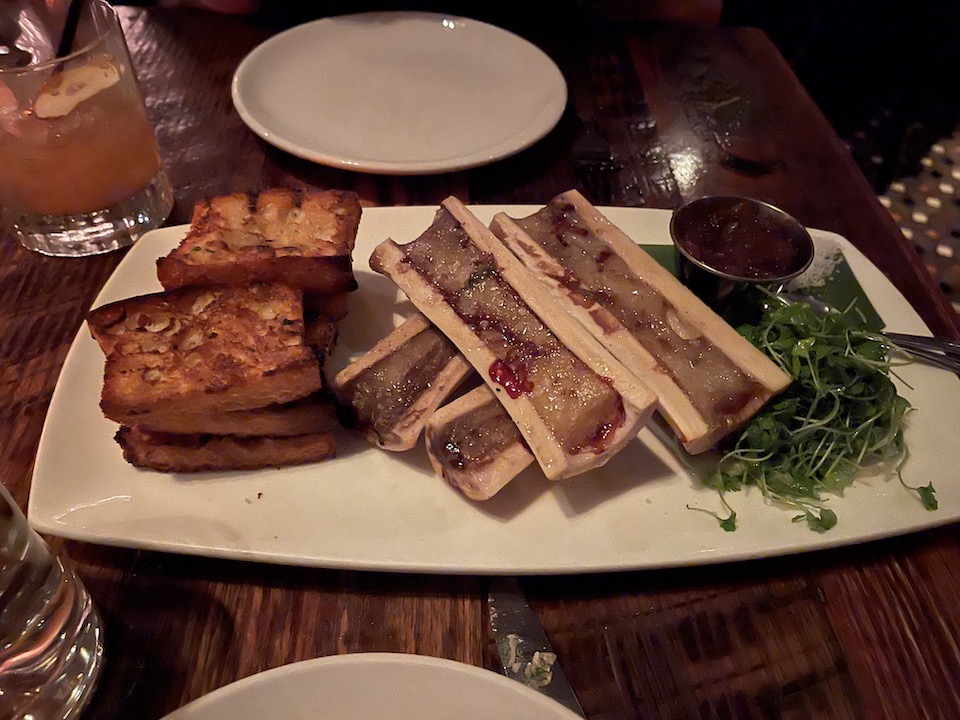
Words cannot describe the experience at Beauty & Essex in The Cosmopolitan. First, the entrance, an unassuming, small pawn shop with displays of jewelry, guitars, retro toys and more. Then, after stepping through a side door, you enter a dimly lit, gorgeous art deco-style restaurant. Finally, the food and drinks are mouthwatering, with beautiful and fun presentations.
My advice if you ever get to Las Vegas, try something new each time. There is so much to see and experience if you do a little research.
Viva Las Vegas!
Clearing Semi-Auto Handgun Malfunctions
If you’ve shot a semi-auto handgun more than just a couple of times, it’s happened to you. Malfunctions are the bane of self-loading firearms. There are many causes of semi-auto handgun malfunctions; common ones include: poor technique by the shooter, mechanical problems, ammunition, dirt, improper lubrication, weak springs and magazines. With so many potential failures facing us, it’s important to know how to get our pistols quickly back in the game.
The 3 most common malfunctions in semi-auto handguns are misfires, double feeds and failures to fully eject (also known as stovepipes).
Misfire
A misfire, also known as “failure to fire,” occurs when the firing pin hits the cartridge but the gun doesn’t fire. The main causes for this malfunction: a bad primer caused by an indentation or blemish, riding the slide forward (causing the gun not to go fully into battery), light/wrong/worn/broken springs, a bad firing pin or carbon build up in the working parts of the gun. Also, if you’ve had work done to your pistol, like you may with a competition gun, it might only work with certain primers. Some primers are too hard for a gun’s light spring to detonate.
Double feed
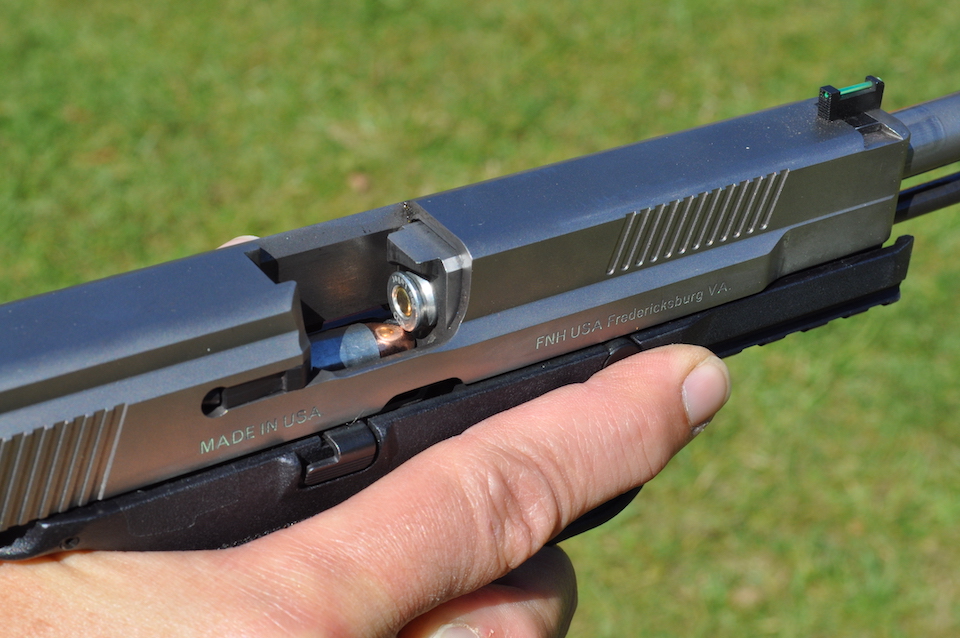
This can occur when the casing from a fired round doesn’t fully eject and two rounds try to get into the chamber at the same time. As with a misfire, there are many possible causes for a double feed. Whether it’s the ammunition, an improperly seated magazine, dirty chamber or faulty magazine spring, a double feed is identified when the gun’s slide gets stuck partially open.
Failure to eject
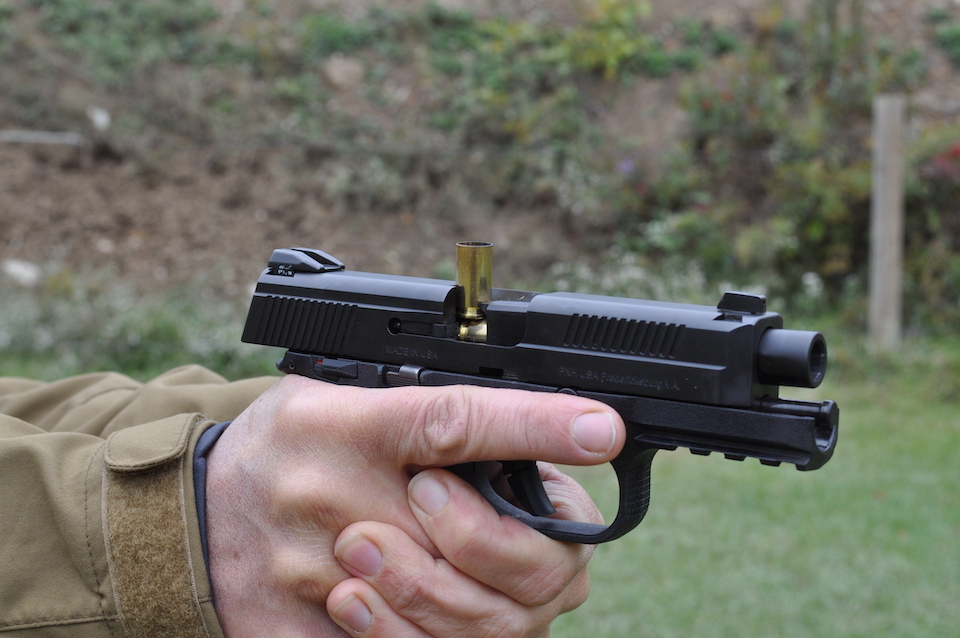
A failure to fully eject occurs when the fired ammunition case is trapped with a portion sticking-out of the gun’s ejection port (hence the common term for this malfunction, a “stove pipe”). When this happens, another round cannot feed into the chamber until the casing is removed. Possible causes for this malfunction include underpowered ammunition, a dirty chamber, an improperly lubricated gun or a weak recoil spring. Failing to manage recoil properly by holding the pistol incorrectly is the most common cause, though.
Avoiding malfunctions
A shooter can take a few steps to avoid these malfunctions:
- Buy quality ammunition from reliable sources. If you reload your own ammo, use a sizing gauge to confirm all your rounds are consistent.
- When you seat the magazine into your semi-auto handgun, do so firmly and don’t slap it like you see on TV.
- When releasing the slide during loading or reloading, do NOT slow it by “riding” it forward. Pull the slide back all the way and let it fly. It’s the momentum of the slide that seats the cartridge properly and ensures the slide is in battery.
- If you have been shooting a lot or using your handgun in a wet, dirty or dusty environment, be sure to give it a periodic, proper wipe down and then re-lubricate it.
- When shooting, be sure to maintain a proper grip.
Your first response to any “click” and not a “bang” should be a tap/rack process. This should clear most misfires and failures to eject.
Tap, rack, reassess!
- Firmly tap the bottom of the magazine with your palm to be sure it’s seated.
- Rack the slide to chamber a fresh round.
- Visually check that the slide is in battery.
- Continue shooting.
If this doesn’t clear the malfunction, execute the following technique to solve a double feed.
Lock it open, clear it, reload!
- Lock the slide to the rear to remove spring pressure on the slide.
- Remove the magazine and let gravity help clear any loose rounds and casings from the gun.
- Visually check to make sure the firearm is free of ammunition, and also check with your finger.
- Insert a fresh magazine.
- Release the slide to chamber a round (remembering the above warning about not riding the slide).
- Continue shooting.
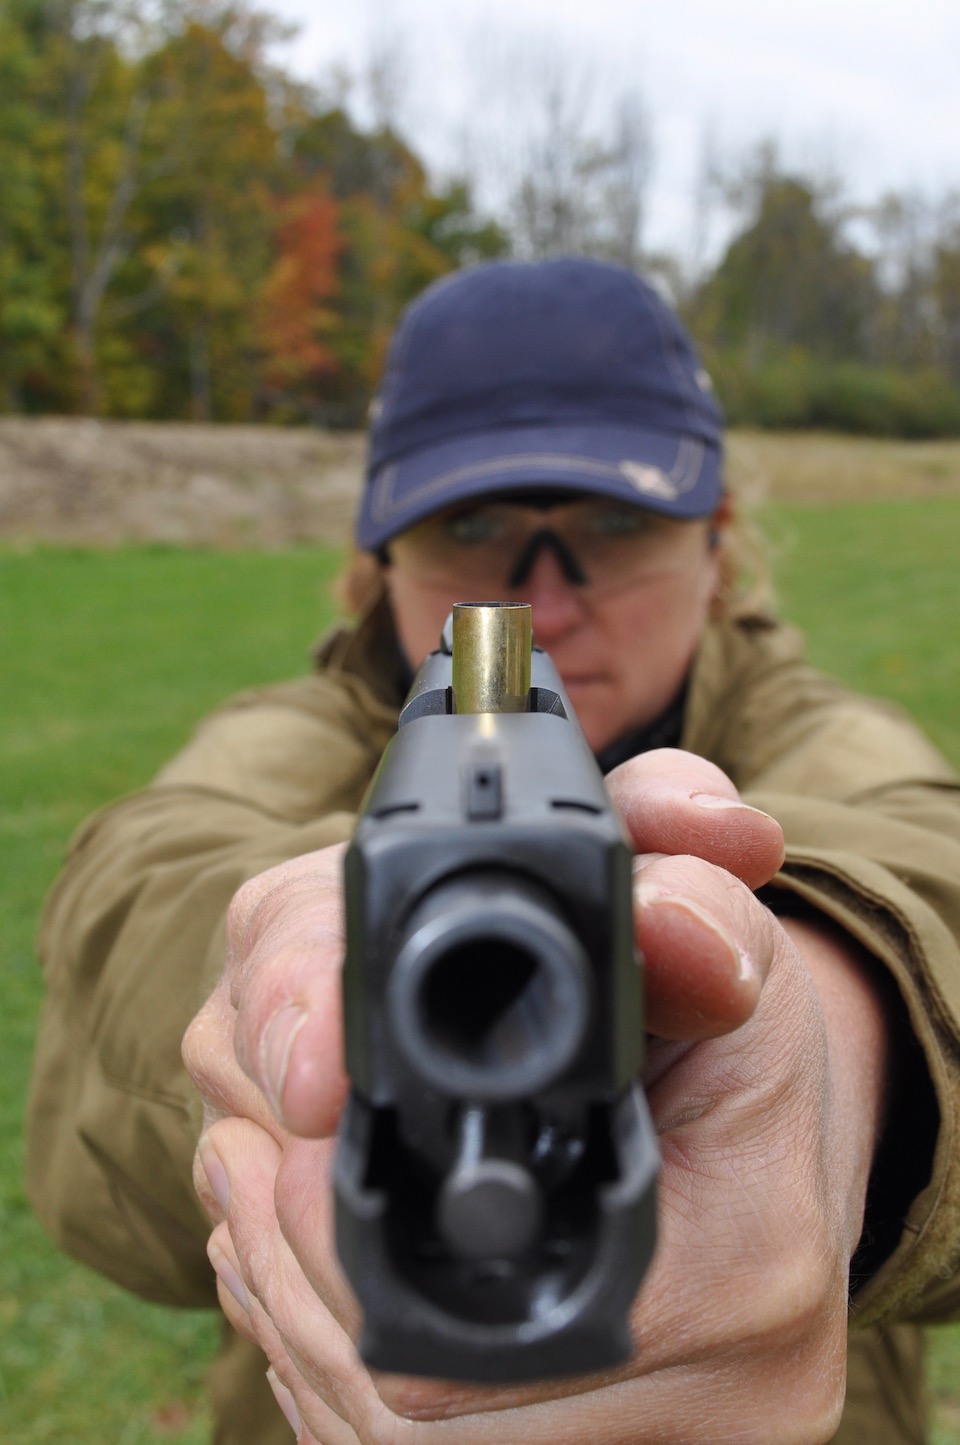
There are other malfunctions you may encounter, and other people may have their own spins on how to clear them; asking a competent shooter for help is your best bet if you are drawing a blank. Nothing beats hands-on instruction.
At the very least, remember the bottom line in each of these techniques is to unload the gun and then reload it! And, always keep your gun pointed in a safe direction.
Coyote Hunting: Who’s the Predator Now?
Many years ago, during deer season, my eyes opened to a new goal, coyote hunting. At the base of a large, gnarly oak tree, among branches and dry leaves I sat hidden in my make shift blind. While scanning the woods for deer, I caught movement out of the corner of my eye. To my surprise, a red fox trotted past along the well travelled trail I was monitoring. Mesmerized by the color of its bright red coat, I was caught off guard when soon after the fox disappeared, a coyote stalked past nose to the ground, following its trail. Knowing that the number of fox in my area was dwindling and not seeing any turkey that year, right then and there I decided the coyote (or “yotes” as many people call them) was a predator I wanted to hunt.
As always, I started researching long before venturing into the woods. Although not native to Ohio, coyote sightings were first observed in 1919 and are now found in all 88 counties. When I contacted Stanley D. Gehrt, an Associate Professor and Wildlife Specialist at The Ohio State University about the number of coyotes in Ohio he replied, “I’m not aware of any population numbers for Ohio, but most indications are that the coyote population is thriving.” I also found Gehrt quoted in a column by D’Arcy Egan, a now retired outdoor writer of 32 years for The Plain Dealer, “…..red fox and grey fox have significantly declined. Coyotes have an incredible instinct to remove competitors, such as fox, from their territory.” The fox decline was also confirmed by my local trapper friend Rex Demeczyk. And did you know coyote are the primary predators of deer fawns? Since deer prefer to leave the herd when giving birth, there is little a doe can do when a coyote attacks her newborn.
Coyotes are omnivores and hardy, adaptable predators. Each year, a female has a litter of two to twelve pups around April that are considered fully grown within one year. Coyotes begin feeding on the large game within an area. Once the large game is either pushed out, or exhausted, they then seek out the smaller game. If the population of coyotes continues to grow and the availability of food diminishes, they will widen their territory. This is when you begin seeing coyote in neighborhoods, and farms where people are nearby. In one evening, a coyote may roam about 20 miles.
The most import detail of coyote hunting is to understand that unlike deer hunting, where you sit and wait, coyote hunting involves using calls to bring them in.
When-
- the first and last two hours of the day
- all day if it’s really cold
- more luck at night when coyotes are more secure
Where – Paths of least resistance
- trails
- field edges
- logging roads
- stream bottoms
Scents- especially spray the bottom of your boots before walking into the woods
- cover scents and blockers get rid of your human scent and cause confusion
- attractants scents like rabbit, deer or fox urine
Calls
- electronic, mouth or kiss the back of hand
- May-Nov use the pup distress call
- place electronic call 25-30 yards ahead of you
Camouflage
- blend into your surroundings depending on where you are hunting
- cover your face with makeup or a mask
Decoys – Give the predator a visual so you can maneuver for the shot
- feather tied with fishing line to a tree
- remote decoy
- plastic or full body forms
Finding you spot
- chose a higher vantage point
- keep the sun at your back, sit in the shade
- have something behind you to break up your outline
- sit downwind, the coyote will circle and approach with the wind
Calling in a coyote
- Start with a coaxer sound at low volume for 3-5 minutes, wait a few minutes after.
- Proceed for 5 minutes with selected prey or distress sound at low volume. Wait and watch.
- Call at moderate volume for 5 minutes, then call at loudest volume for 5 minutes. Wait, watch and be still.
- Use 1-3 howls and wait 5 minutes.
- To seal the deal when coyote is working in close, use low volume to bring him in.

According to my state’s hunting and trapping regulations, there is no closed season and no bag limit on coyote. Returning to the spot where I saw my first coyote was where I would begin the first hunt. Upon arrival, I doused myself with Tink’s B-Tech™ Odor Eliminator. Tink’s has a no pump spray that I find easier to cover myself, even when holding the can upside down. I also sprayed my Tink’s rabbit urine Hot Shot Predator Mist on the bottom of my boots. Gathering my gear, I headed into the woods. With the direction of the wind in mind, I searched for a spot on a hill, with the sun at my back, looking over the path where I previously spotted a coyote. Now settled in, I waited a bit for the woods to settle then began calling using The Mini Phantom digital call, by Predator Quest. An electronic call was the way I choose to begin my first predator hunting endeavor, since my mouth call technique left something to be desired.

After going through the series of calls for about 30 minutes, I made the mistake of moving. DUMB! Once in my new position, after only 10 more minutes of calling, I caught movement out of the corner of my right eye. Unsure of what I saw, I continued to call, attempted to calm my beating heart, and waited. There, I saw it again, right in the path I had previously been watching. UGHHH! Carefully I turned, trying to set my rifle in the best direction. Scanning the area where the sighting was, my heart sank as I watched the coyote run, tail down.
Was I disappointed in my first coyote hunt? Heck no! Not only did I watch four deer moving through my usual hunting spot, but I jumped one on the way out. Also, I called in my first coyote! Are there things I would do different? Sure. Getting a decoy is one of the first items on my list, but I will need to do some research. Also, I need to learn patience, it’s all a waiting game.
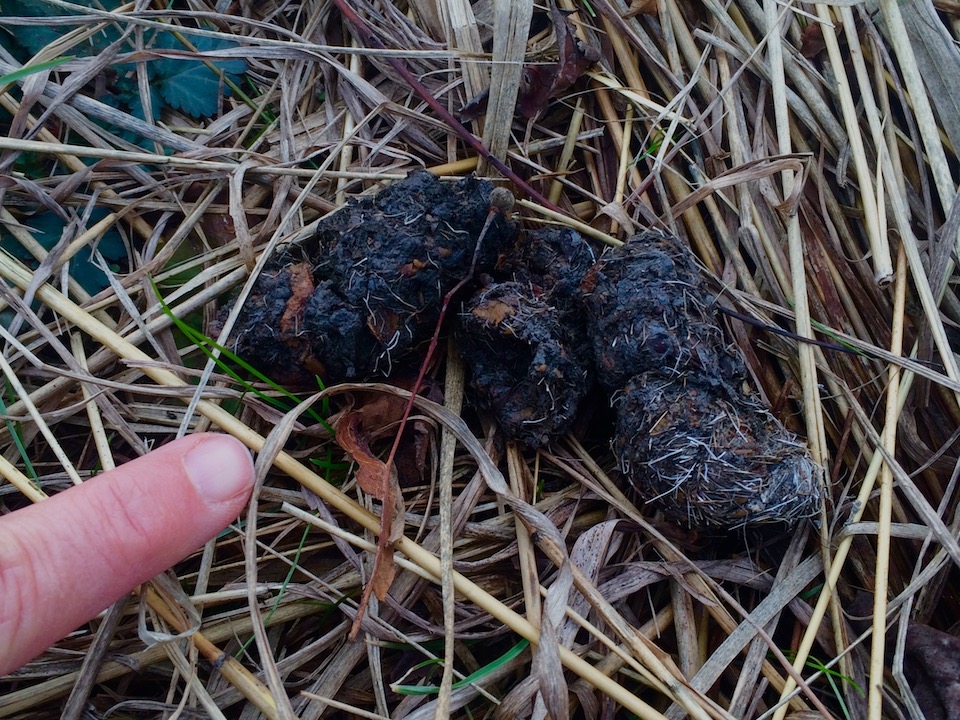
For my second season of coyote hunting I felt much better prepared. The new hunting area I found had both woods, overgrown fields and farms. Also, there were many signs of coyote activity. More than once I ventured upon some coyote scat (poop). How do I know it was from a coyote? Not only was it full of berries, but there was also bits of bone, some fur and feathers in the mix. Another sure sign of coyotes were the bone piles. The leftovers of a well devoured deer and birds with a few feathers nearby and the lone jaw bone along the trail.

I also purchased a few more tools to help improve my chances of calling in a coyote. A wireless call made more sense to me, so I used the iHunt Ultimate Game Call. Placing the speaker up to fifty yards away would create plenty of separation. It’s also water resistant and has a kickstand to keep it off the ground or hang it in a tree. With the iHunt app downloaded from the internet I had a playlist of over 750 calls from 59 species available on my smart phone. My other new tool was a decoy. It’s a rabbit that wobbles and twitches on a base that sticks into the ground. And finally, camouflage face paint. Not only is it easy to apply, but it also broadens my field of view and is less cumbersome.

Since I hunt during the daytime, I have to be very careful of my movement. The coyote like to sneak up on their prey, checking it out and determining what it is they are hearing or smelling. If they catch any of my movement they will be long gone before I have a chance to shoot. Also, I learned what to watch for while sitting. Coyote like cover. They will move among grasses and tree lines.
For this hunt, I settled myself inside a patch of bushes and tall weeds, overlooking a field of tall grasses. It didn’t take long for the cries from my caller to bring in a curios coyote. My attention was drawn to a particular area a rustling sound was coming from. Searching the grasses for triangle shaped ears, I was quite surprised when the coyote stepped right out into the path.

Quickly I took my shot, there would be one less coyote on this farm!
Eating with Locals: Hot Dogs in Clifton, NJ
Recently I went on a weekend trip to tour Thomas Edison’s lab and Glemont home in West Orange, New Jersey. While there, my travel partner was kind enough to take me on a tour through his hometown of Clifton, NJ. This town has quite a history and we visited many of the significant places. As you might imagine though, all this sightseeing can make a traveler very hungry. Thankfully Ken enjoys eating different foods as much as I do, and he made sure to expose me to a few meals I don’t think exist anywhere else. At first I thought I would share these restaurants in the order we ate each meal. However, I think it’s better to break it up into the type of food we ate. Part 1: The Hot Dogs
Hot Dogs
I know what you’re thinking. Hot dogs? Is she serious? Absolutely! You have never experienced hot dogs until you have eaten them at Rutt’s Hut or The Hot Grill. Although the hot dogs are both deep-fried, yes, I said, “Deep-fried!” they are served completely different.
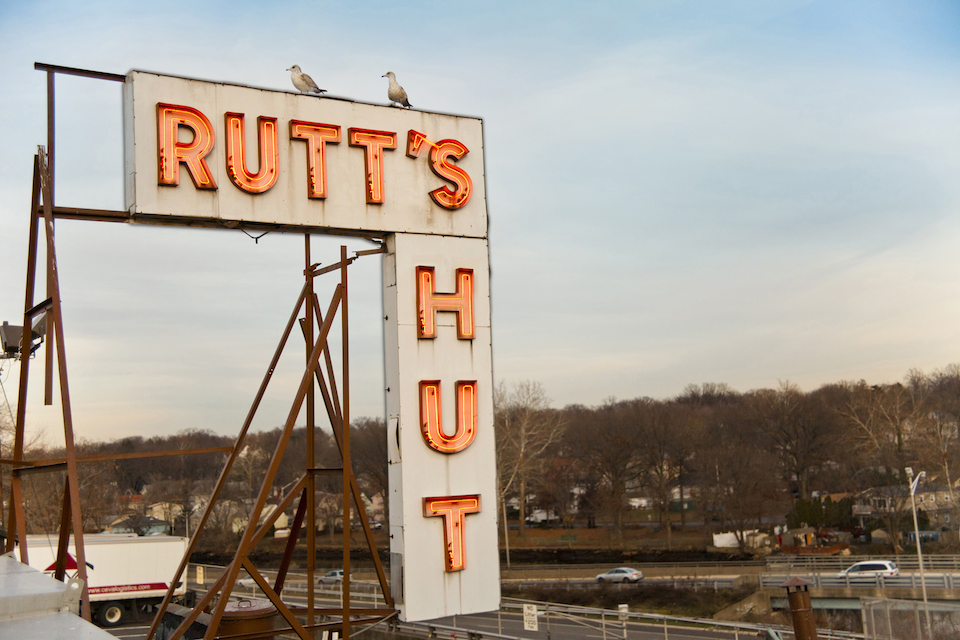
Rutt’s Hut
Rutt’s Hut original roadside stand first opened in 1928. It’s deep-fried hot dogs, with cracked and split casings are nicknamed “Rippers”. Of course we had to eat them topped with the secret blend of mustard and spices. We also had French fries, which we ate with the cutest little disposable wooded forks, and birch root beer to drink.

We ate standing at a long bar that faces out the back window. Below this bar is a shorter one, where kids may enjoy their “Rippers” while standing close to their parents. If you want to sit, there is a dining room and bar where you may also eat.
If you’re in the area, stop in to try a “Ripper”. Make sure you take your time eating it. If you’re like me, you’ll enjoy hearing the orders called out with those Jersey accents. I could have stayed all day.

The Hot Grill
If you are in search of the “World’s Tastiest Texas Weiner” search no more. I found it at The Hot Grill in Clifton, NJ. It say’s so right on their sign!
Since 1961, this local favorite has served deep fried hot dogs in what began in a small building with only 20 stools at the counter. It can now seat 145 guests and offers many other items.

Our yummy lunch included; Texas Weiners “All the Way” (hot dogs with mustard, chopped onions and a secret recipe chili sauce on top), a side of French fries with gravy (I know … don’t judge), and two cheeseburgers with white American cheese and gravy. It was all so delicious.
If you’re wondering which meal tasted better, I don’t have an answer. Both were very different and delicious in their own way.
Watch for Part 2: The Mussels coming soon.
Low Shots? Stop Peeking!
Think back to one of your recent trips to the shooting range. When you shot controlled pairs (two well aimed shots) was your second shot consistently low? What about when you shoot three, four or five rounds? Is your last shot below the group that started to form? If this is what you see on your targets I may have an easy solution … STOP PEEKING!
Yep, I said it, “You need to stop peeking.” You have to quit looking down range while you press your trigger. Heck, I bet sometimes you watch as the hole forms in the target from your final shot, well below the other shots in the group. Isn’t that frustrating! Fear not though … I have some simple solutions that may help you to stop peeking.

First of all, without watching you shoot, I can’t say with 100% accuracy that peeking is the cause of your shots going low. However, if it’s the final shot in a string of shots, I have a really good feeling that is the answer. Following is the simplest way I know of to explain what is happening. And yes, I agree it may sound a little hokey, but it’s been proven over and over again in classes.
What Happens When You Peek
Let’s consider everything it takes for the bullet in your pistol to make a hole in the target:
- Your eyes see the correct sight alignment/sight picture and signal to your brain that you should finish pressing the trigger.
- As you’re pressing the trigger you need to maintain your sight alignment/sight picture for the shot to hit where you want.
- Your brain needs instant gratification (especially on the last shot) and wants to know where the shots went.
- Before the bullet ever leaves the barrel you’ve already lowered your gun, or raised your head (or both) to look down range at the target and see where the holes are.
Sure, I know this is all in a split second, but think about it … doesn’t it make sense? Your brain is done shooting before the bullet has even left the barrel. Your eyes have already changed focus and are looking down range, usually over the top of your barrel. You did not maintain proper sight alignment/sight picture through the break of the round.
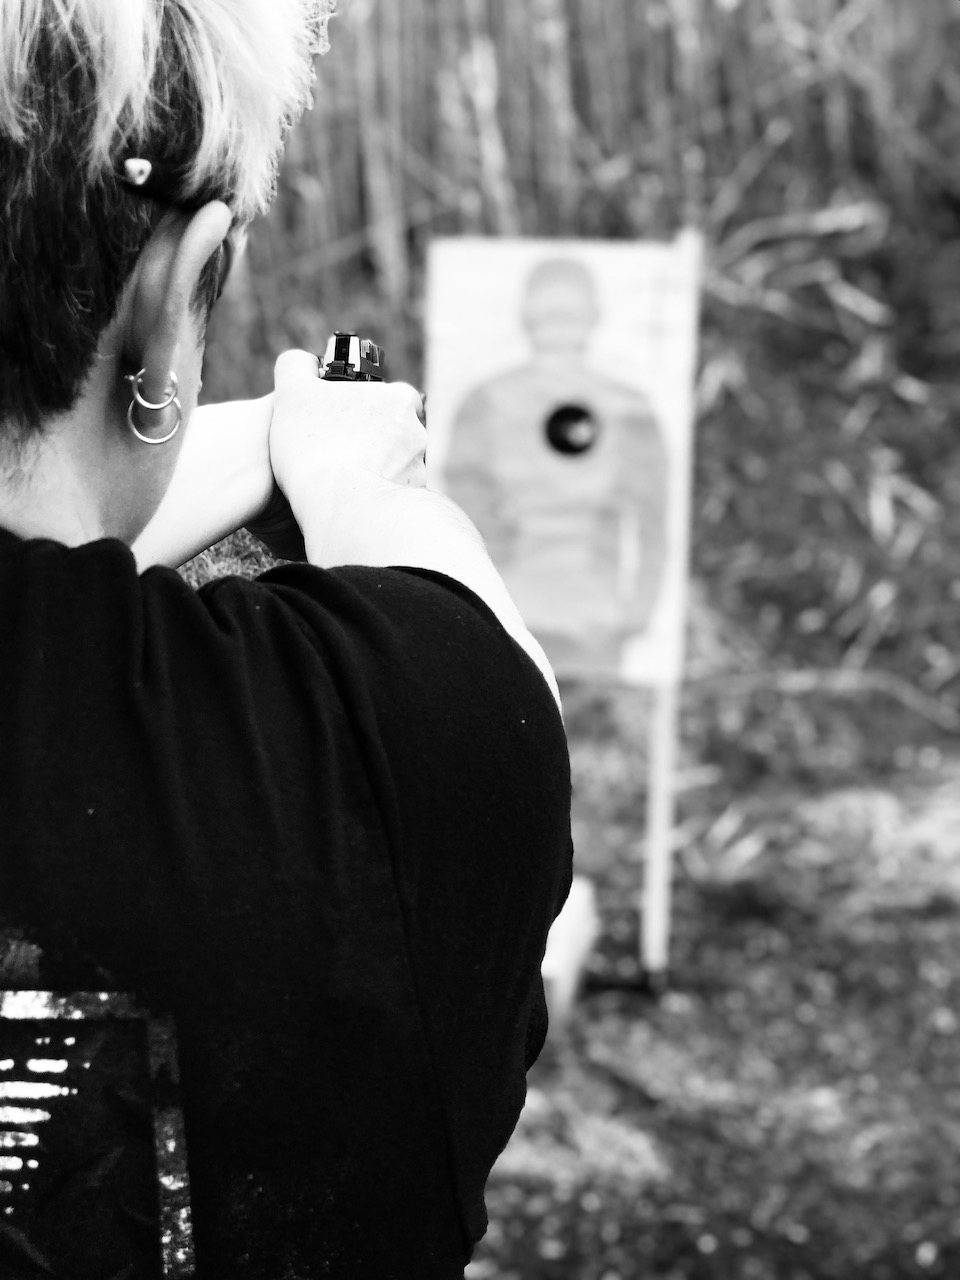
3 Tips to Stop Peeking
- Practice follow-through after your last shot. By that I mean set yourself up as if you are taking another shot. Watch your sights as they align and settle back on the target creating another sight picture. In recoil take up the slack in your trigger, arriving back at the pressure wall in preparation for another shot. Then, once you’ve determined you don’t need to take another shot, index your trigger finger and bring the gun back to the high-ready. Now you can look at where your shots went.
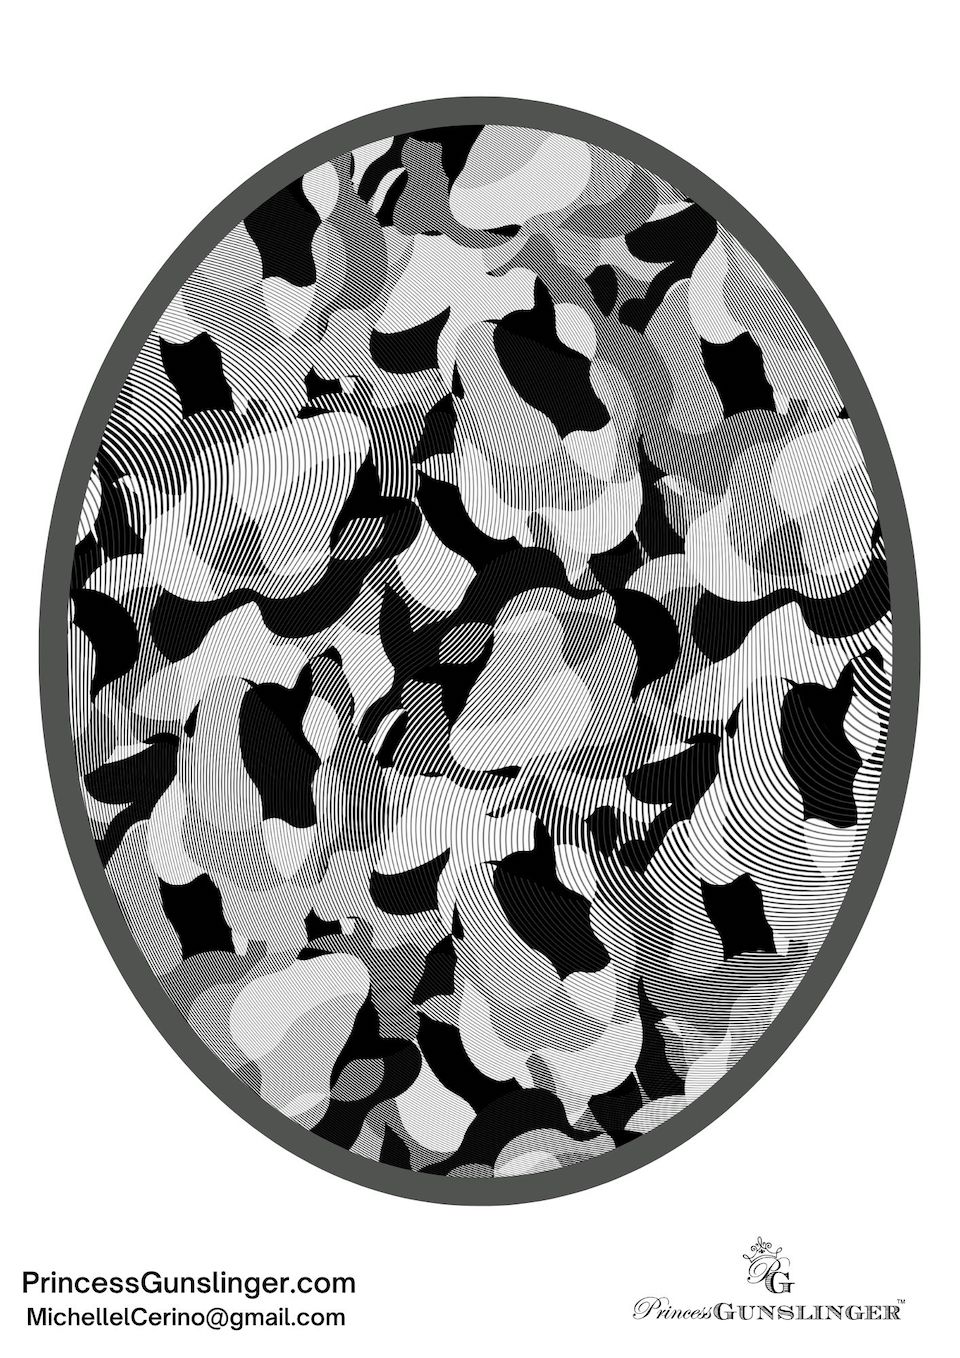
- Use a target that doesn’t allow you to see holes to limit your need to peek. I created a camo target that you may download here. It is REALLY difficult to see where the shots went when you look downrange. Basically, there is nothing for you to see. This should help you learn to feel and recognize where the shots. But, you have to get it through your head that there is nothing to see.
- If all else fails, I used the following exercise many years ago to help someone who just couldn’t stop peeking, but admitted she did it. On your final shot make sure to follow through, but close your eyes as your sights settle back down. Then, remove your finger from the trigger, placing it straight along the frame. Bring your gun back to the high-ready and open your eyes. Now look downrange at your target. I’ve used this same exercise with other people and it seems to do the trick. Eventually they stop peeking and wait until they are back to the high-ready to take their eyes and mind down range.
I’m sure there are many other tips and tricks to get people to stop peeking when they shoot, however these are ones I’ve used that you can do on your own. First though, if your shots are going low (especially the last ones) you need to confirm, recognize and accept that peeking is your problem. Then, it’s a matter of getting your brain to stop wanting to see immediate outcomes and taking your eyes down range.
Happy Shooting!
IWB Potty Break Tips for Public Restrooms
Here’s the deal … we need to be honest and open about concealed carry and going to the bathroom. Yes, everyone one has to do #2 and depending on your schedule, this may involve a public restroom. Recently I started using an inside-the-waistband (IWB) holster and found myself struggling a bit in public restrooms during my potty break. Now, surely there are others that have the same questions and concerns as me, so here you go …

IWB Potty Break Tips
Finding a Place for Your Potty Break
When you realize you need a potty break, take a minute to choose the best place to go. If a family restroom is available, use it. These restrooms usually have a single toilet and a door that locks, which is perfect for privacy. When these aren’t available and you have to use a public restroom with stalls, choose the one at the end, against a wall. This minimizes your visibility a bit since you only have a neighbor on one side. Always check the stall situation on your way to the farthest one, to see if you can spot any men’s footwear, or other suspicious stuff. If you see anything that raises the hairs on the back of your neck, exit quickly.

Avoiding Detection
Now it’s time to get tricky and creative. These tips will help you avoid exposing your gun to others while during your potty break.

Whenever possible, keep your pistol in its holster. If you avoid letting your pants fall below your knees it will help keep people outside the stall from seeing your gun. When you have a belt on, re-buckling it will help with this step. Also, spreading your knees apart and pushing on the belt will make it easier. By all means, don’t let your gun touch the floor … gross!

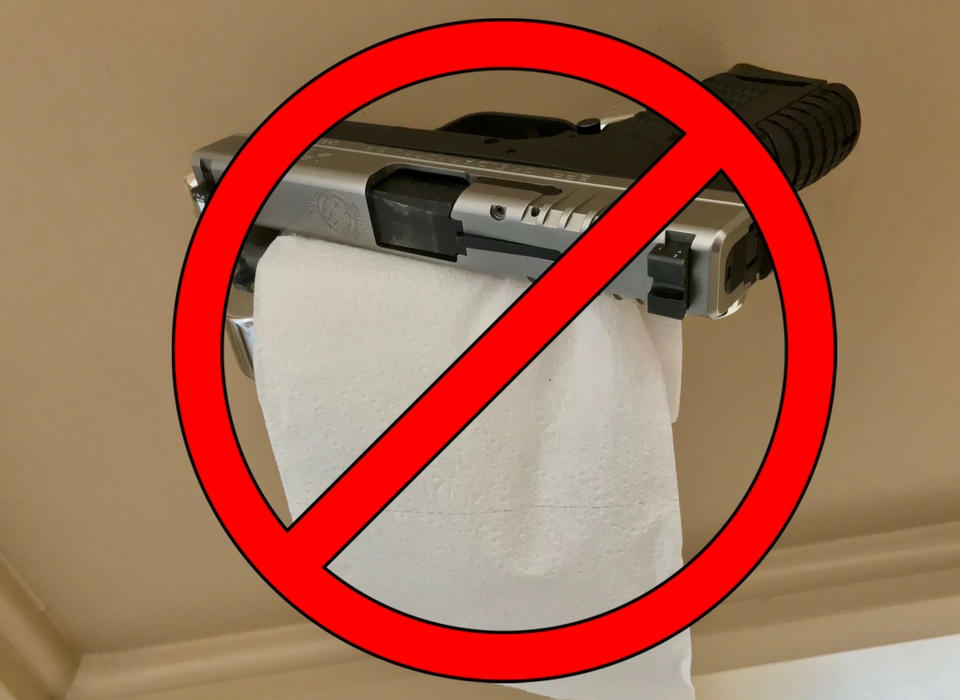
If you have to remove your pistol from its holster, NEVER hang it on the door hook by the trigger guard. I personally know of someone who had an accidental discharge (and not in the toilet) or AD because of this. Needless to say, he scared the crap poop out of those also on their potty breaks (pun intended). Also, if you decide to put it on the back of the toilet or on the toilet paper dispenser, don’t. Consider how slippery the surface is. Plus, no matter how responsible you think you are, you might forget to take the pistol with you. It’s happened to many professionals who carry guns for a living.

So, what could you do with your gun if you absolutely have to take it out of the holster? There’s a little trick I learned and it’s been working for me. Let’s call it the underwear hammock. If I can’t keep my pistol in the holster, I lower my pants and underwear to above my knees. Then I set my pistol in my underwear where it safely sits until I’m finished. I know, sounds crazy but try it at home with an UNLOADED gun. This is also a great place to rest your pistol if you carry appendix or right in the front.
If Your Gun Falls During Your Potty Break
Don’t panic! Pick it up, finish your business and re-holster. When you get home, rethink what went wrong, and why it fell. If it fell out of the holster, you may need to check the retention or consider purchasing a new holster. Unless you spend a ton of time in public restrooms, IWB potty break ease shouldn’t be the most important criterion for choosing a holster. However, when you gotta go, you gotta go.
This article first appeared at Women’s Outdoor News.
