The Anatomy of a Riflescope
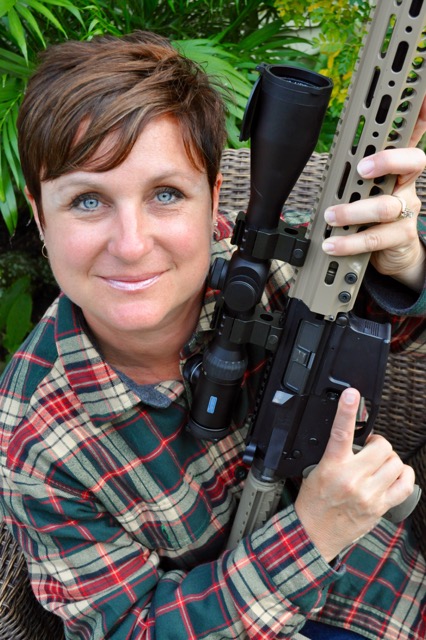
Recently, I competed in the NRA World Shooting Championships. There were 12 stages focusing on various firearm disciplines, 5 of which involved using a magnified optic or scope. This column is intended to be a guide for people new to the use of riflescopes, and those afraid to ask questions. Riflescopes, whether for competition or hunting, offer a lot of choices. Choosing the best scope for your situation can be tough, unless you understand the anatomy of a riflescope and what the various parts do. Many times it’s simply a matter of cost, but having a better understanding of scope terminology can help when shopping for a scope, or using one you’ve never looked through before.
Turn the ocular lens eyepiece to adjust focus.
Ocular Lens: This is the lens, mounted in the eyepiece, closest to your eye. Turn the eyepiece in either direction until the crosshairs are in focus and crystal clear. You’ll get the best results doing this against a plain white backdrop.

This Hawke scope has variable powers from 4x to 16x.
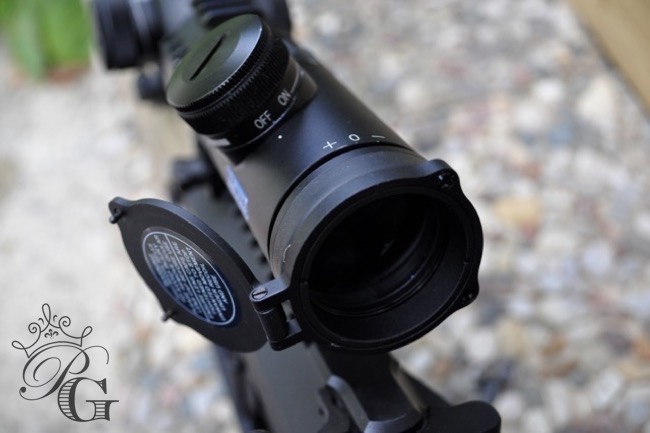
Objective Lens: This is the lens closest to the target; it allows light into the scope. With its diameter measured in millimeters, the larger the objective lens, the more ambient light will pass through the scope and to your eyepiece. All other things like magnification being equal, bigger objective lenses keep you in the field later into the day because your eye has more light to use in low light levels.
Magnification Ring: Also called the power-adjustment ring or zoom ring. A variable power rifle scope will have a ring you can rotate to change the magnification of the scope. A 4X (four power) scope magnifies four times, and makes the object appear four times closer than with the naked eye. Very few scopes have a fixed-power, with one set magnification that cannot change. Most scopes are variable-power, and adjust from low to higher powers. Your selection of magnification depends on how far you want to see or how precisely you want to shoot.

The dials on the turrets show the direction you’re moving the bullet’s impact.
Turrets: Often covered by caps, turrets are the two knobs in the center part of the scope tube that control windage and elevation adjustments. The turret knobs are marked in MOA (Minute Of Angle) or MIL (Mil-radian) increments, and show which direction you should turn the turret to make your desired adjustment. L is for left and U is for up, which means you’ll move the bullet’s impact in that direction when you turn a turret that way.
Windage Adjustment: This is the turret on the right side; it shifts the aiming point of the scope left or right on the horizontal plane.
Elevation Adjustment: The top turret shifts the aiming point of a riflescope up or down on the vertical plane.
Reticles: Also called crosshairs or aiming points. These are the adjustable aiming points inside the center of the riflescope. There are many styles of reticles, so choose a scope with a reticle you understand. The most common type of reticle is a standard (duplex) crosshair. A shooter can learn how to use complex reticles, and they definitely help you range targets and shoot faster and more accurately.

The parallax adjustment is extremely important for distance.
Parallax Adjustment: Parallax describes when the target image forms behind or in front of the reticle, or when the shooter’s eye is not on the optical axis of the scope. When parallax is adjusted, it cancels as much of the difference as possible between the reticle and the target image. Parallax adjustment allows you to focus the scope and put everything you see thru the scope in a direct line with your eye. Not all riflescopes have a parallax adjustment.
Illuminated Riflescope: This type of scope incorporates a battery or fiber-optic light source into the scope’s construction. The light illuminates the reticle so it stands out better against the target and under low-light visibility.
Eye Relief: This is the distance from your eye to the ocular lens where you can still see the full field of view without a dark ring around the edges. There needs to be enough room for a proper cheek weld and recoil to occur. The higher the recoil of the rifle, the larger the eye relief is needed to avoid getting hit in the eye.

Kentucky Windage: Thought to be named after the Kentucky Long Rifle, this is a rough estimate for a change in point of aim to either side of the target. If you can’t or won’t adjust your scope’s windage turret, make this physical adjustment you make to compensate for the effects of windage that threw off your first shot. You just hold to one side off the target to get the bullet to go where you want it to go.
Hold Over/Under: These terms describe where you place the crosshairs above or below your intended shot point of impact, depending on the distance.
Zero: This is the distance that the scope is sighted-in with reference to the flight of the projectile. A scope sighted in at 200 yards has a 200-yard zero. Set your zero with regard to how you use your rifle and scope, based on the distance you most often encounter targets.